This guide will help you get Outlook 365 set up on the list of devices below:
Section 1: Mac
Section 2: PC
Section 3: iPhone
Section 4: Android
Section 1. Mac
Step 1.
Open the Outlook application on your computer. You will be presented with prompts to set up your account.
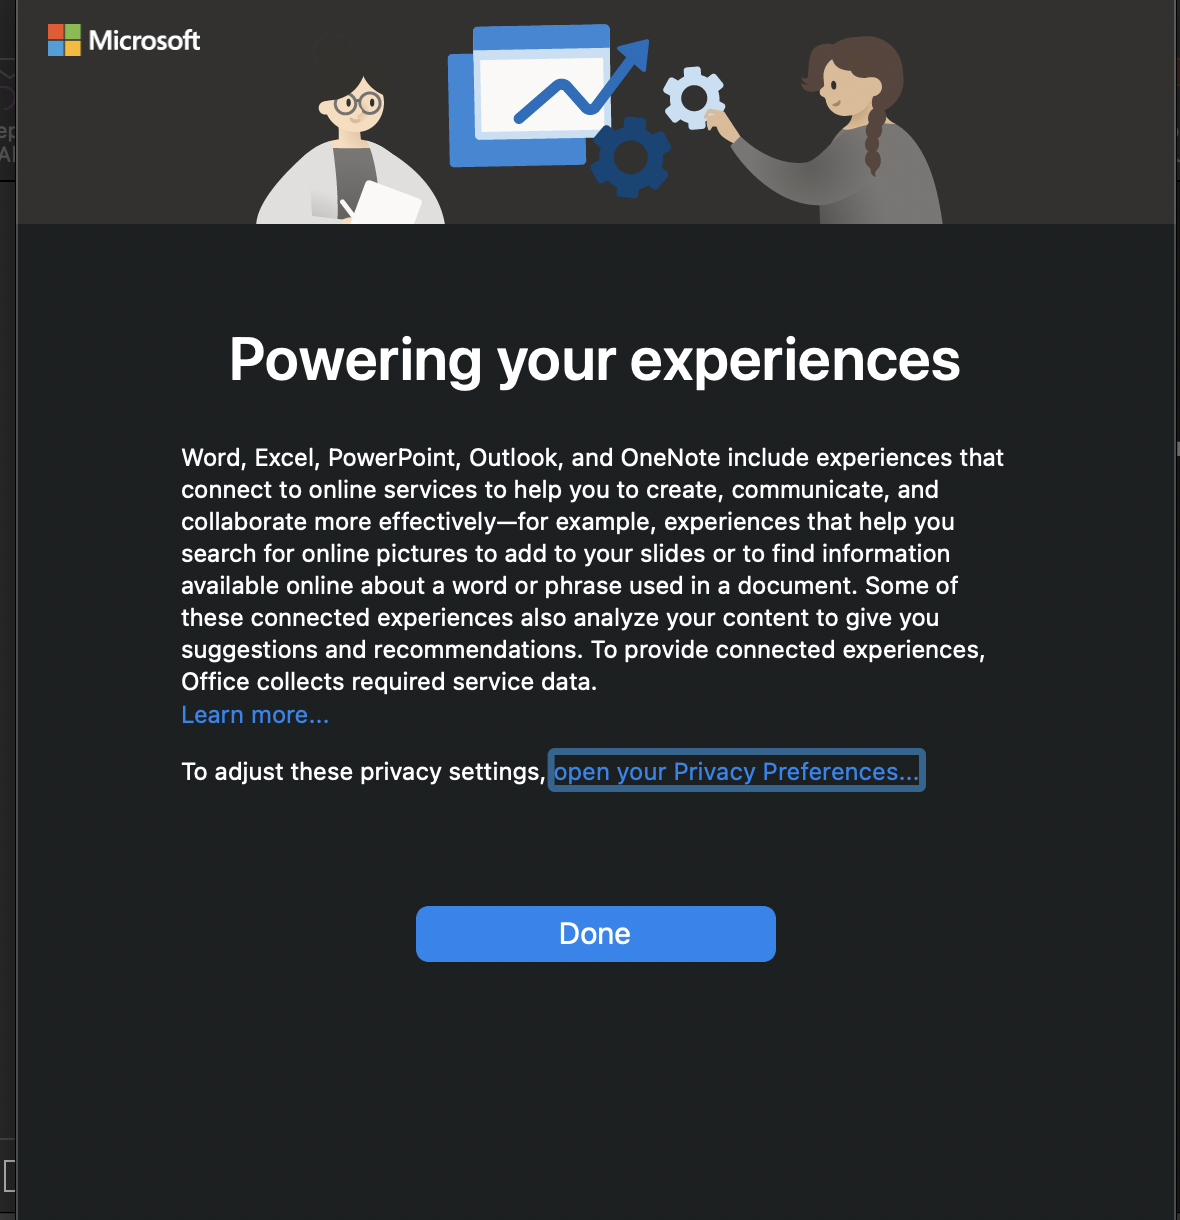
You may be presented with this window first, if you see this window, simply click the done button to continue.
Step 2.
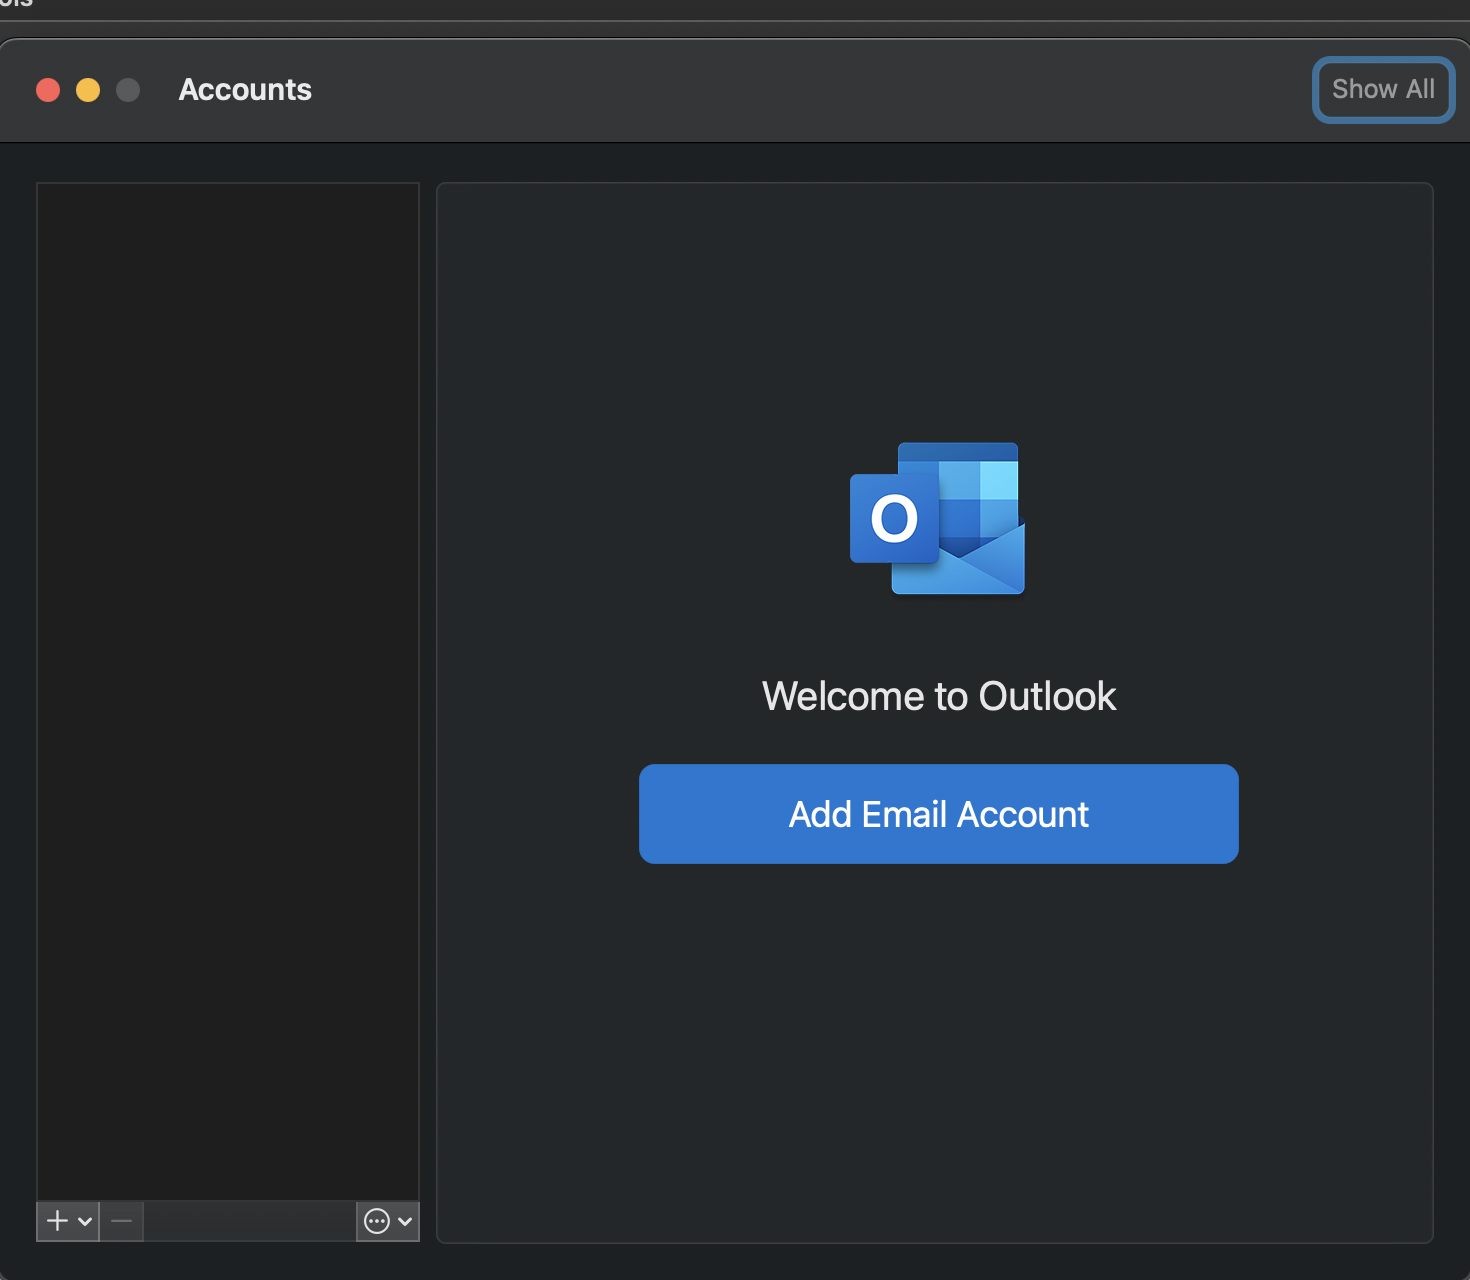
This window is specific to Mac users to begin the process of adding their email addresses. Click the Add Email Account button to continue.
Step 3.
If the application detects an email address on your Mac it will ask if you want to add that email. If you see your work email there you can click on it to select it. If you see another email address there then you will click Add Others. If there is no email address detected you will enter your work email to continue.

Step 4.
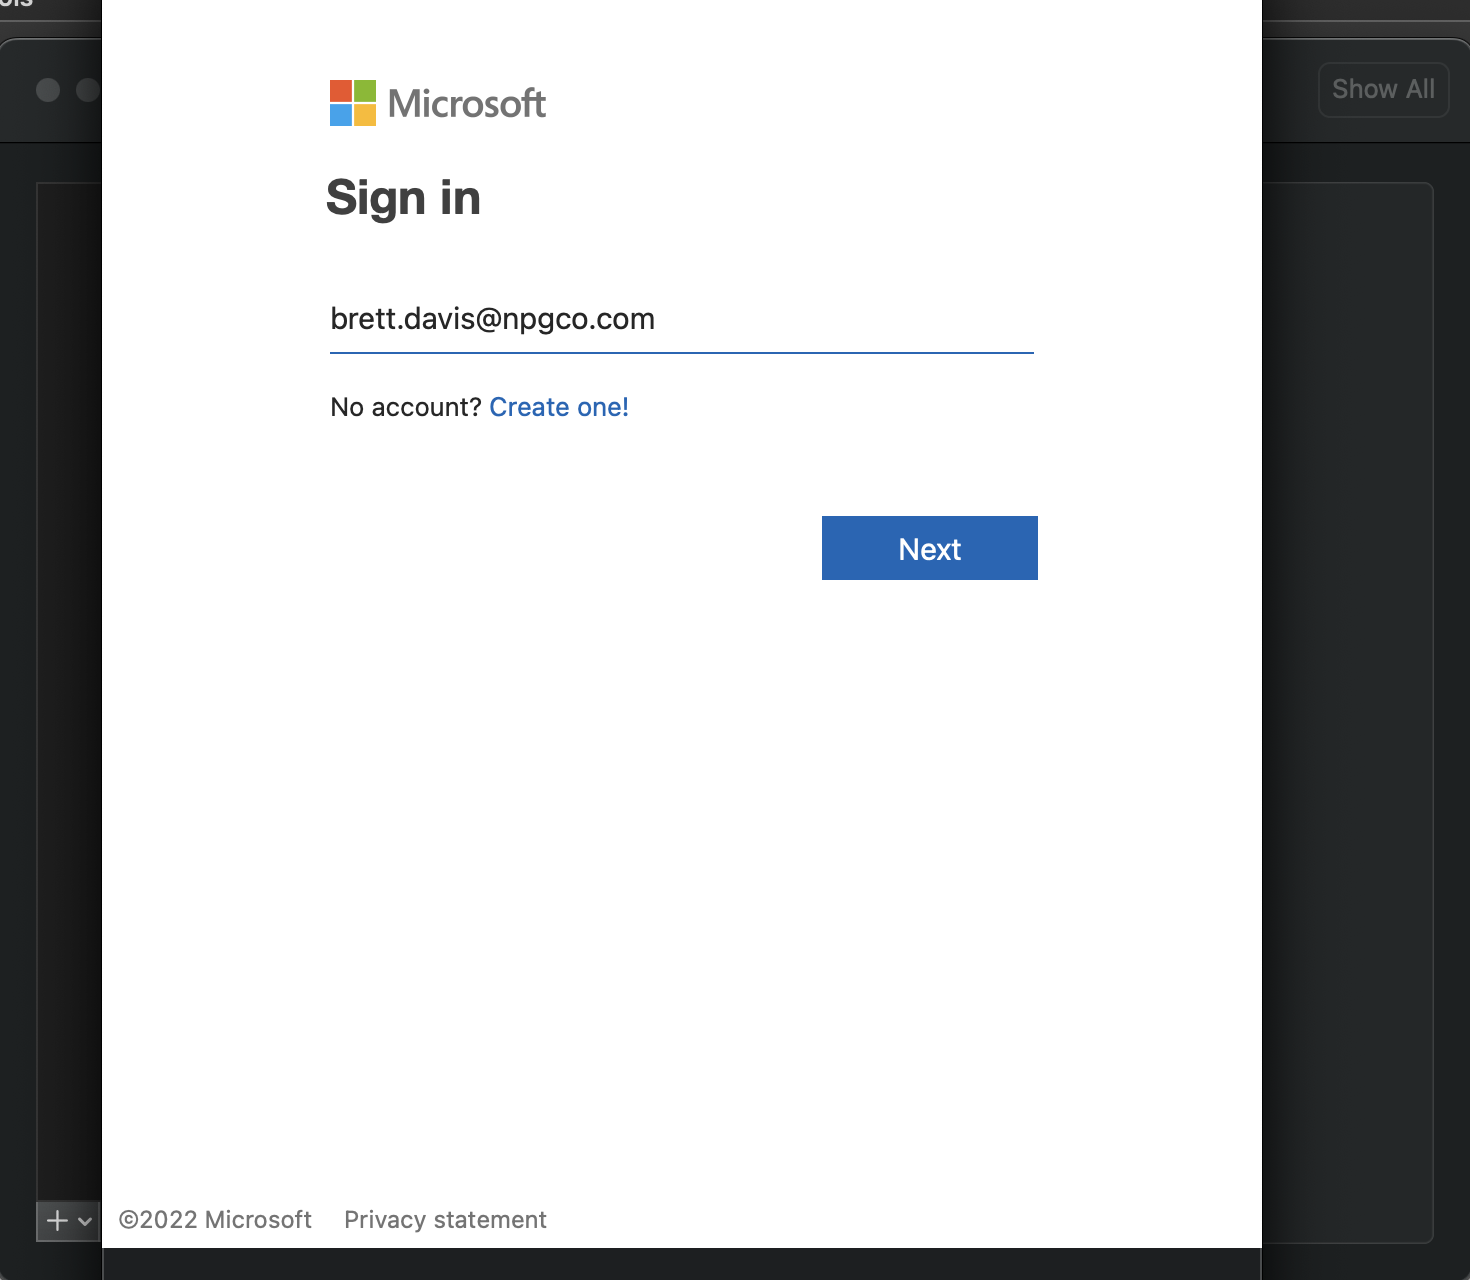
Once you have entered or selected your work email address you will be prompted to sign in. If it isn't entered for you, enter your work email and click Next to continue.
Step 5.
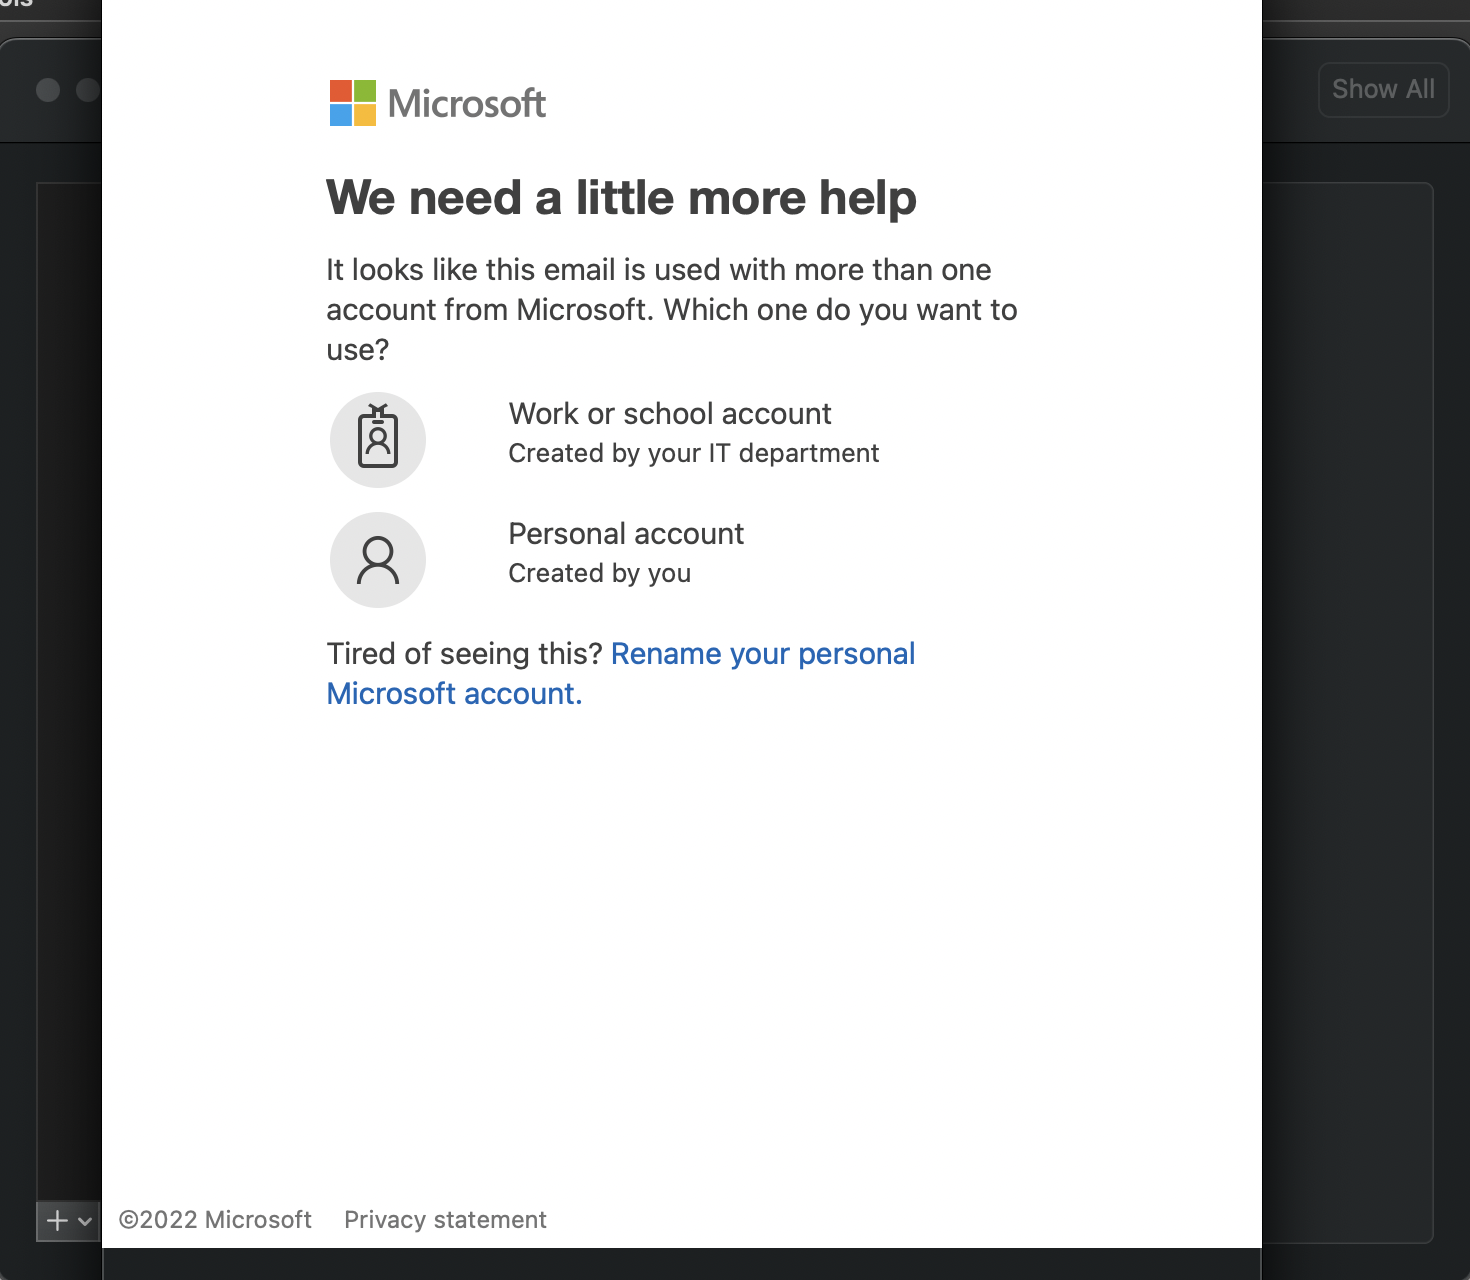
When you are presented with this window you must select Work or school account.
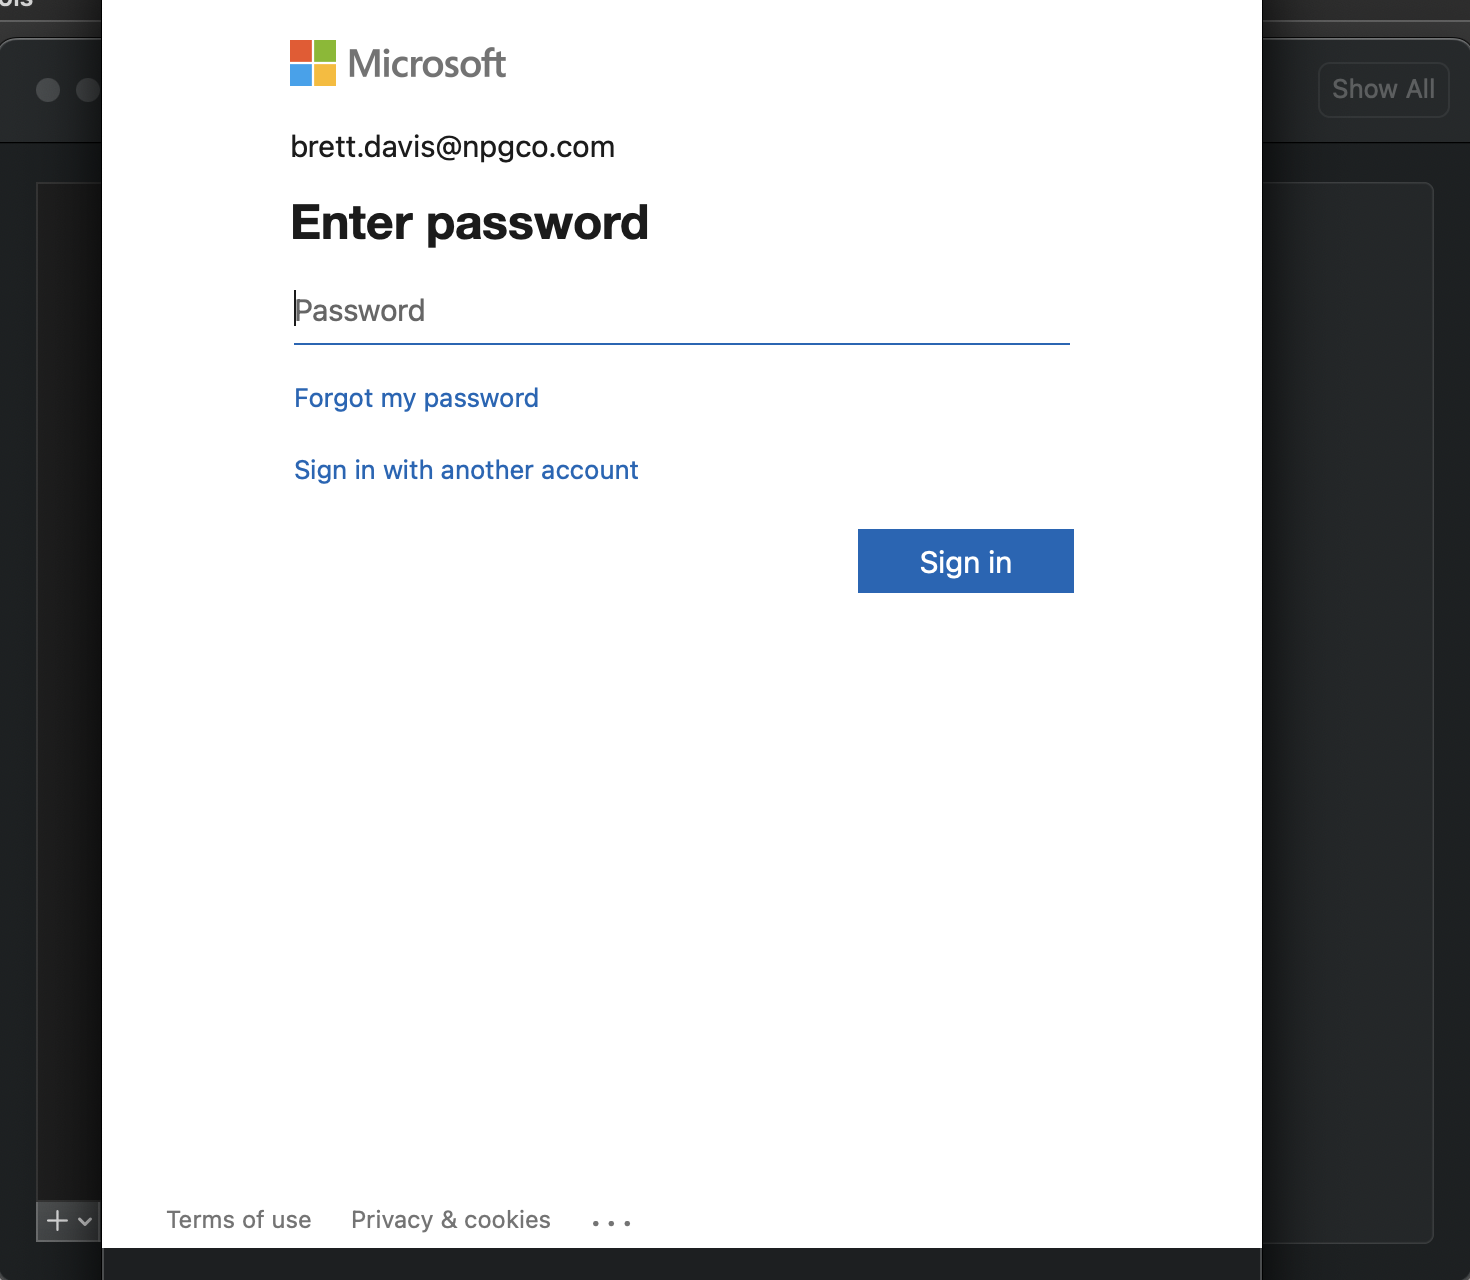
Step 6.
You will then be prompted for your password. If you have 2 Factor Authentication already set up you will be prompted to authenticate after entering your password and clicking sign in.
** See the guide on setting up Two Factor Authentication if you have not yet done so HERE
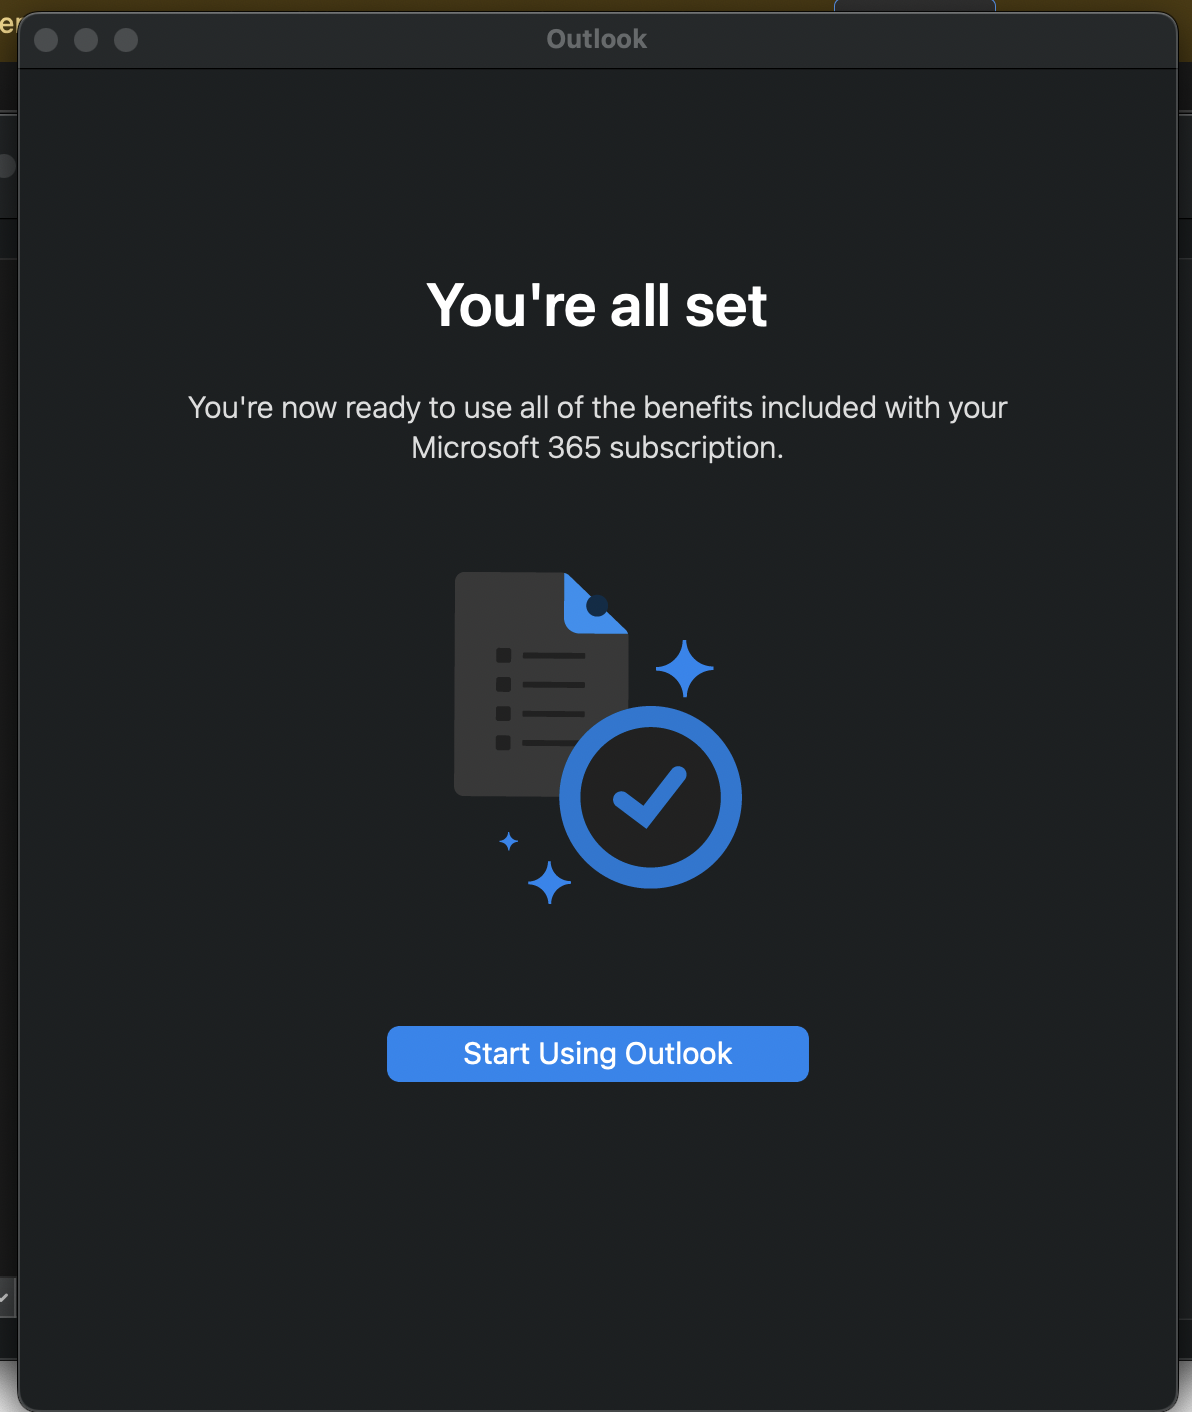
Step 7.
Upon successful sign-in you will see the following window. At this point click Start Using Outlook and you are done.
Section 2. PC
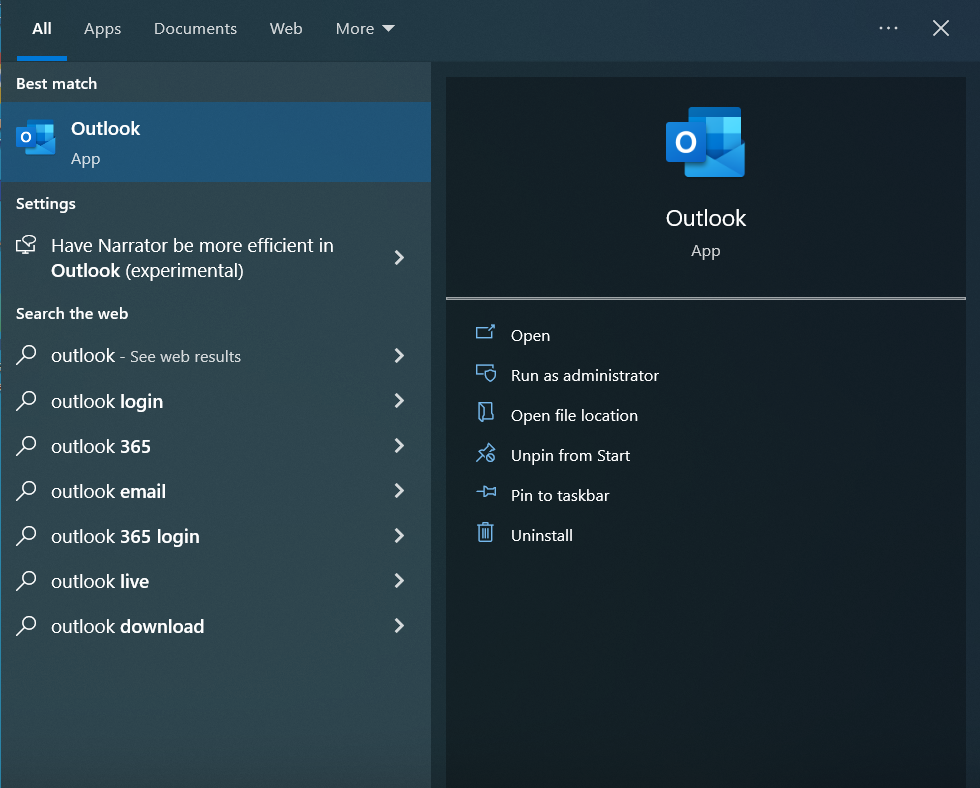
Step 1.
Open the Outlook application on your PC by selecting it in the start menu.
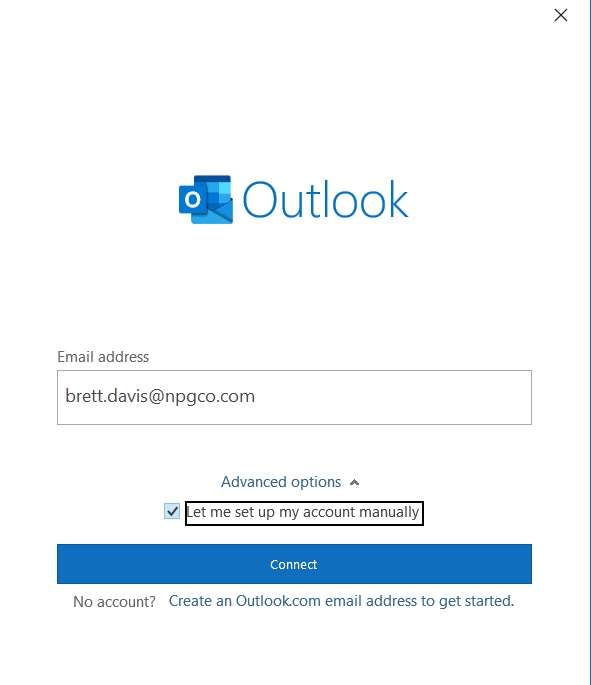
Step 2.
When Outlook starts you will be asked to enter your email address. After entering your address click Advanced Options and check the box to set up your account manually. Once you have checked the box click connect.
Step 3.
After clicking connect you will be taken to the following window. In this window, you need to select Exchange. Don't select Exchange 2013 or earlier.

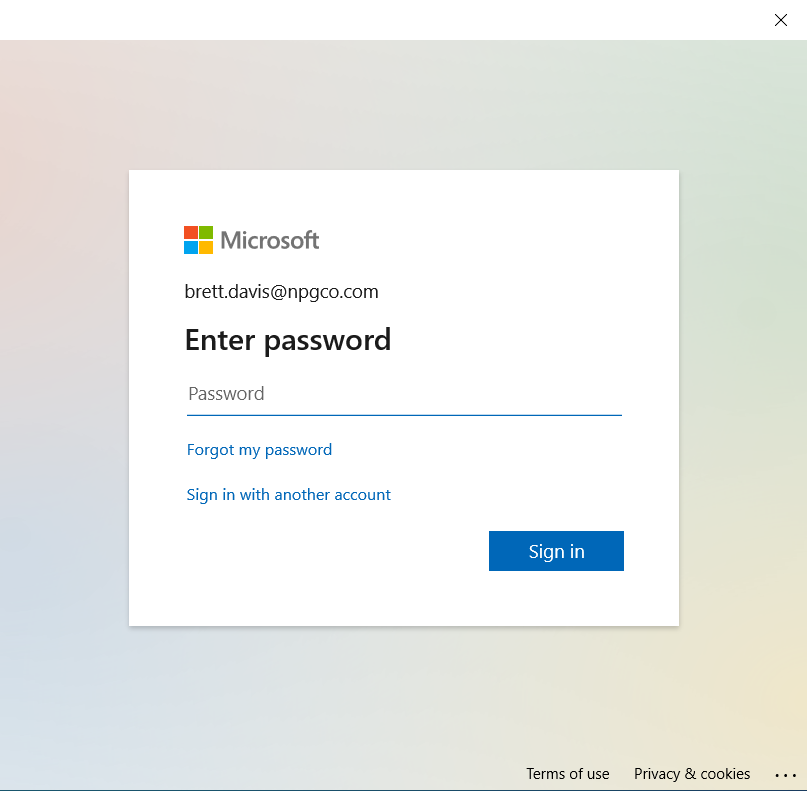
Step 4.
You will now be asked to enter your password. This is the same password you use for signing into your email in a web browser when accessing the Zimbra webmail. Enter your password and tap Sign In
** See the guide on setting up Two Factor Authentication if you have not yet done so HERE
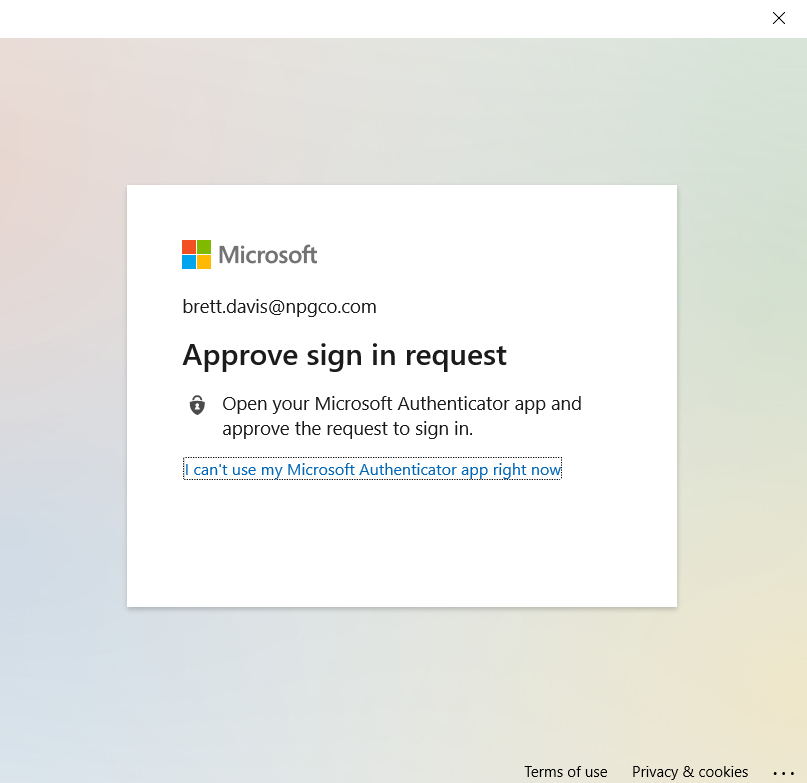
Step 5.
If you have set up your 2-factor authentication already you will be prompted to authenticate the login.
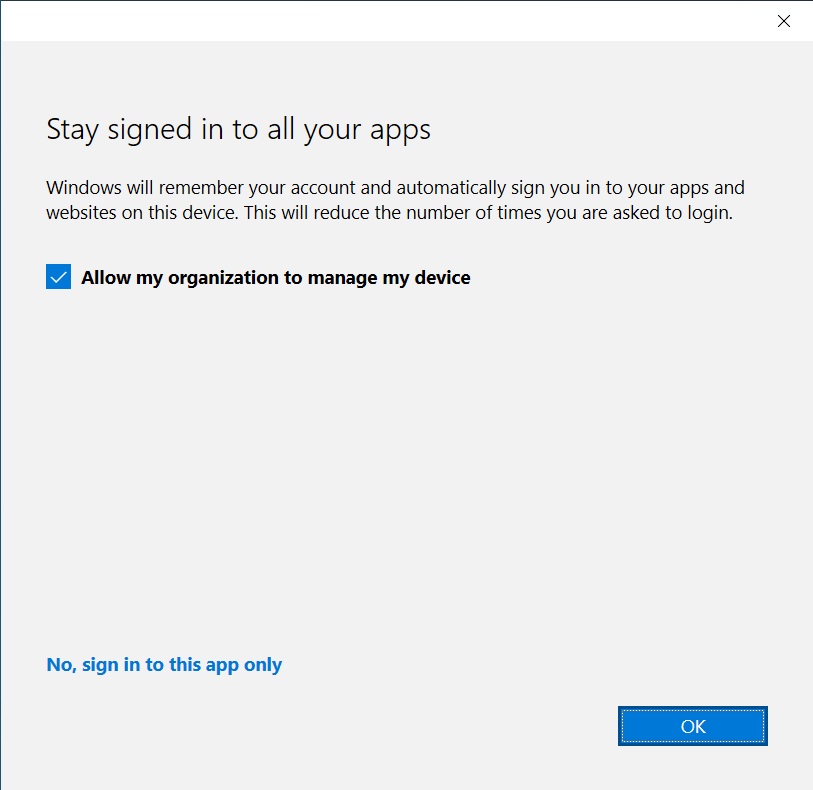
Step 6.
Once the login is completed you will see this window. Leave the settings as they are and click OK.
Step 7.
The next window you see will be the all set window. Click done.
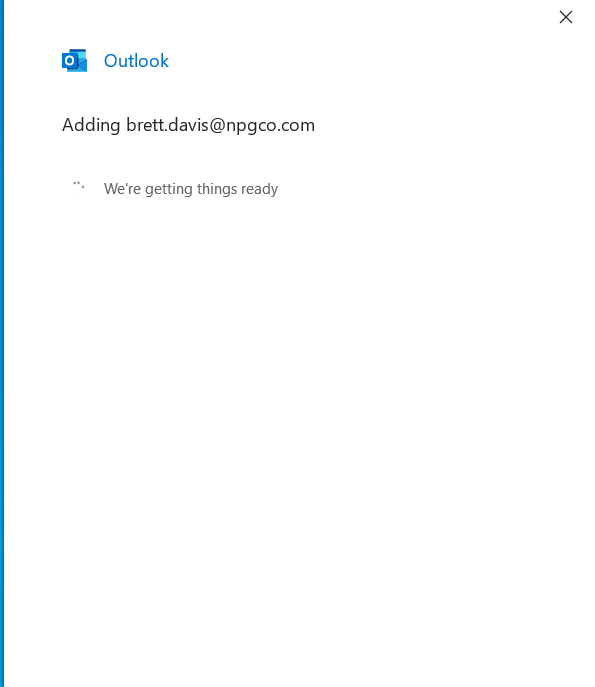
Next you may see the following window. This window will close automatically when the process completes.
Step 8.
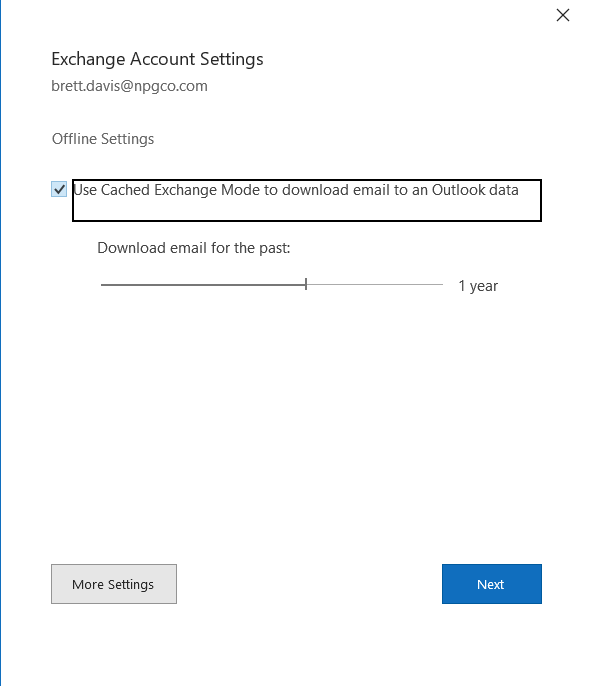
The next window to appear will be this settings window. Again, there is nothing to change here, so you can click Next.
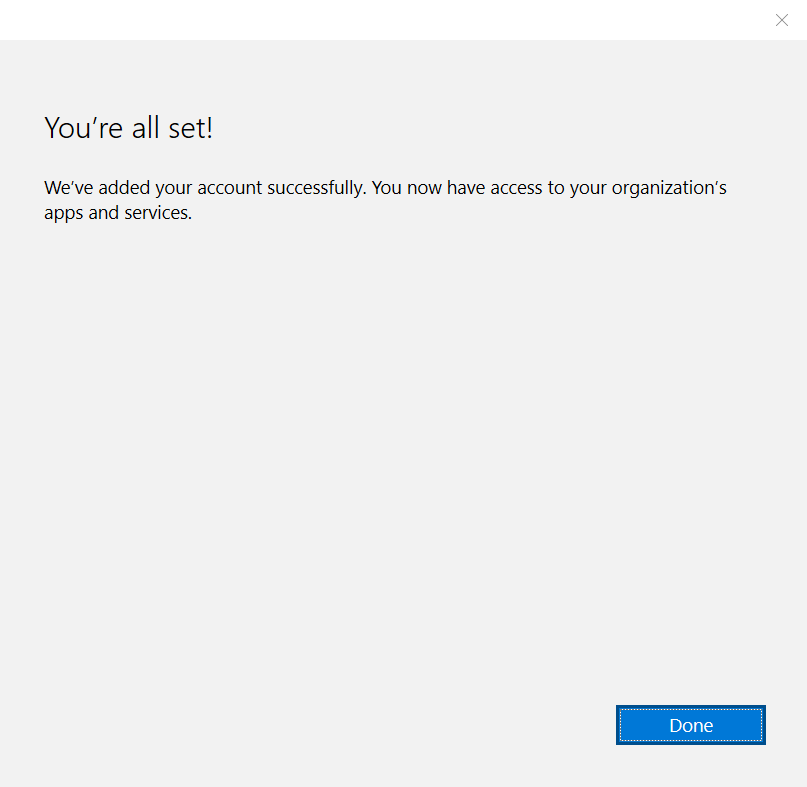
Step 9.
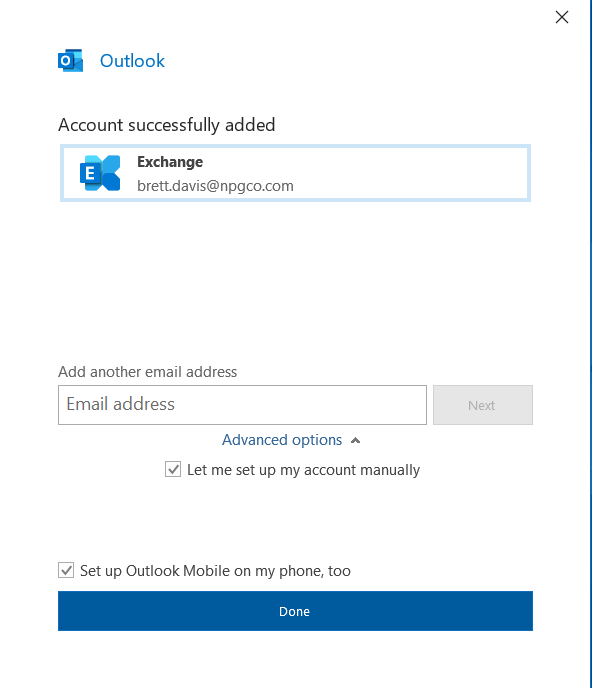
The last window you will see during setup is the Account successfully added window. All that is left is to click done and Outlook will start.
Section 3. iOS
Step 1.
To set up Outlook on iPhone you will need to download the application from the Apple App Store.

Step 2.
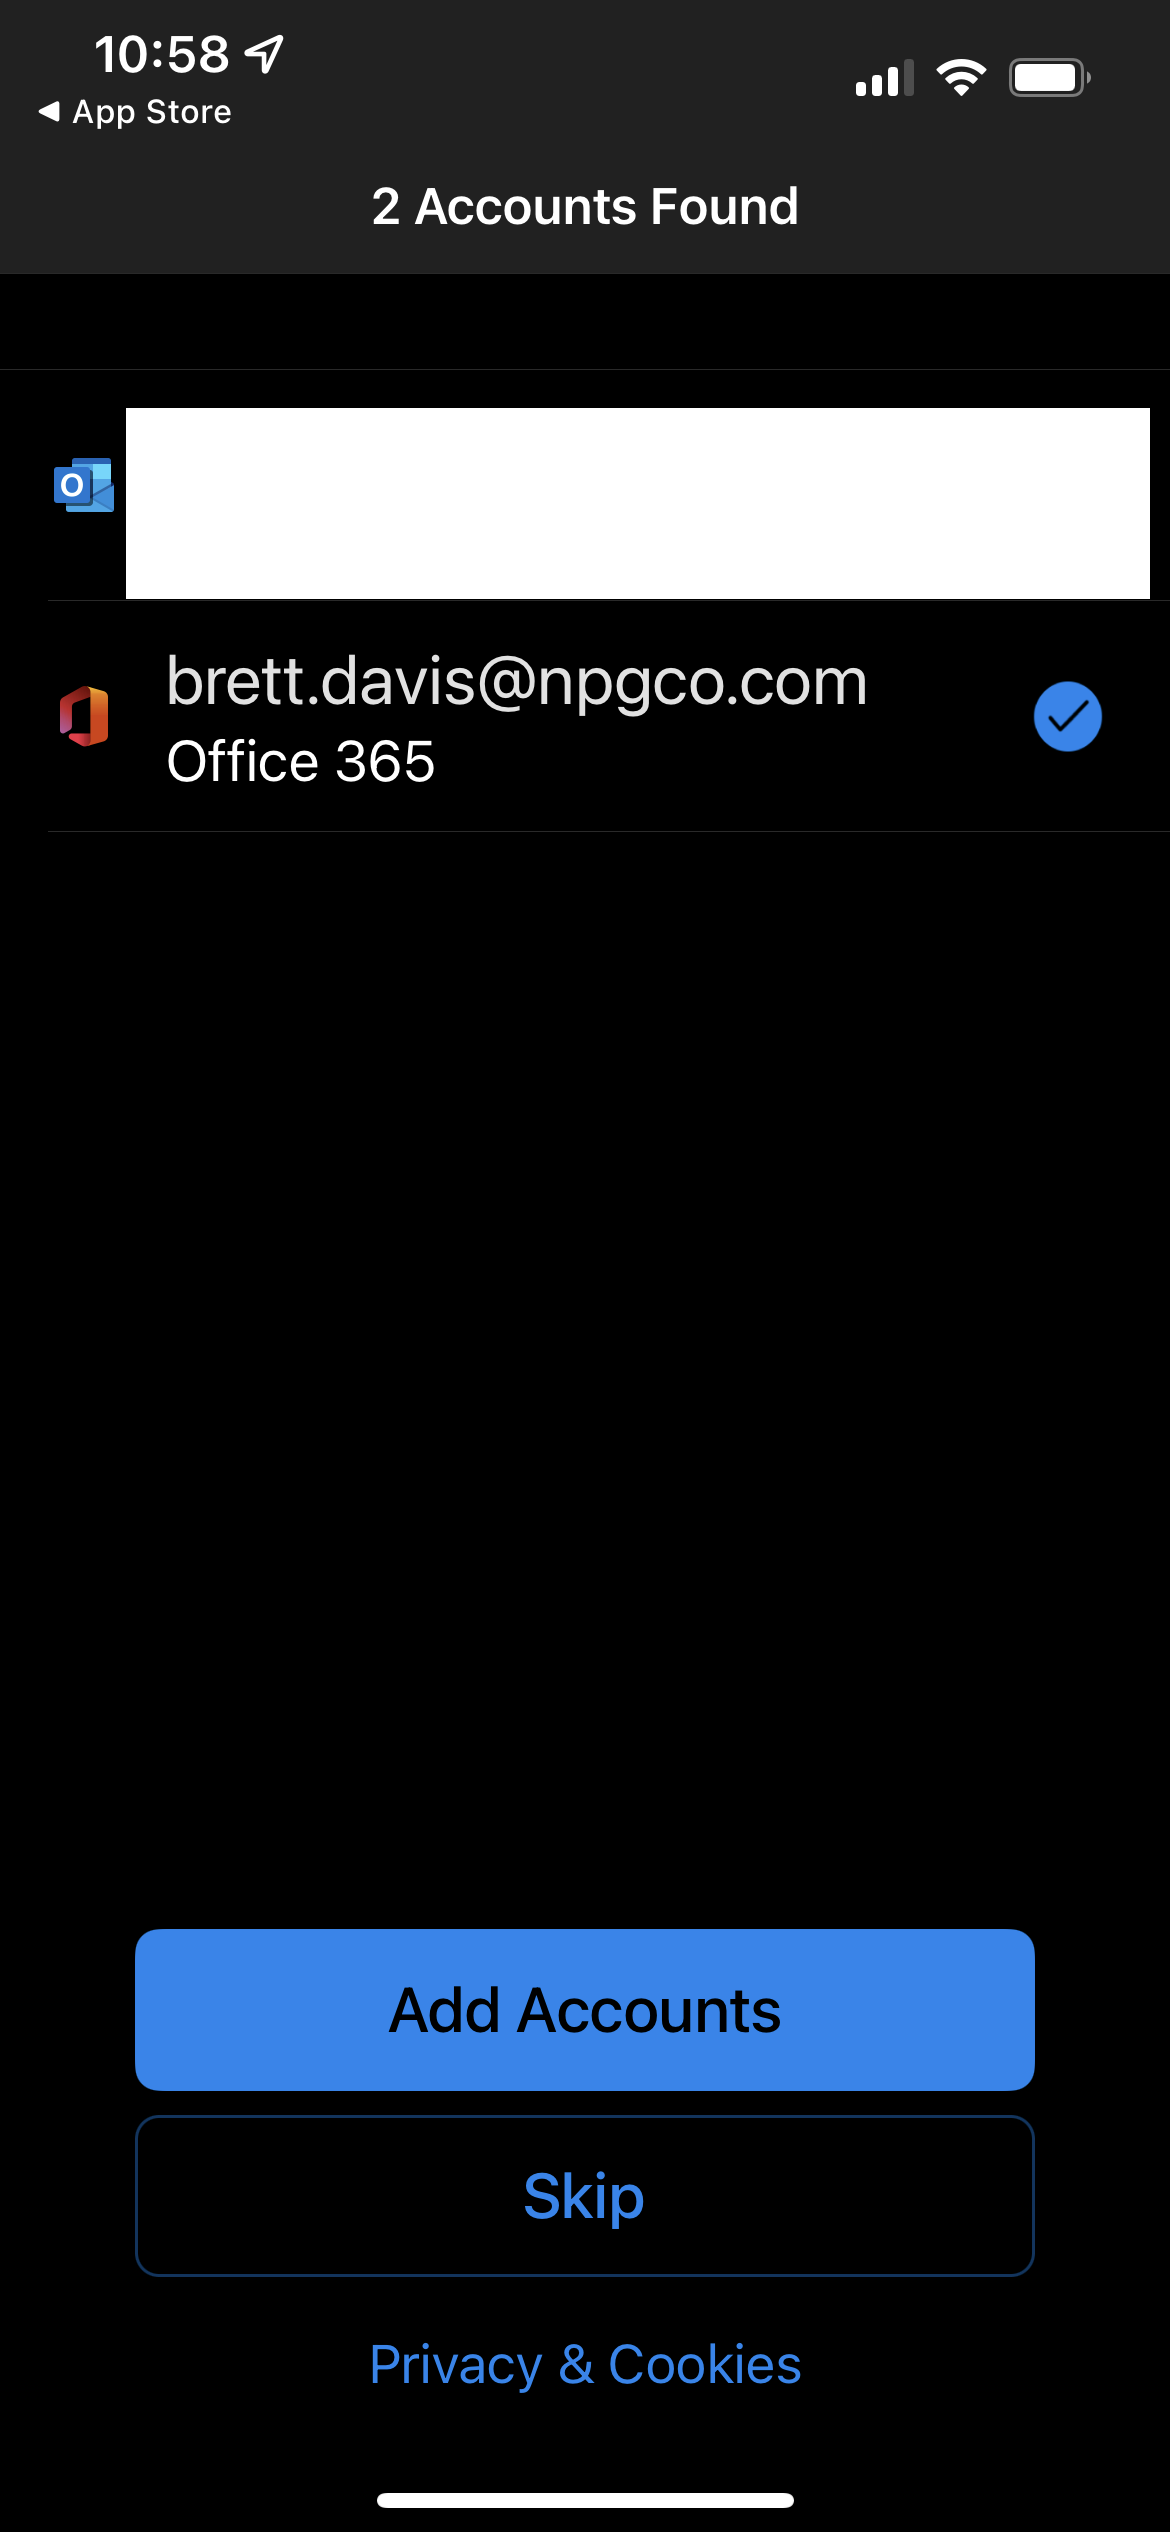
Once the app is installed launch it to begin setup. If you have your work email setup in another application on your phone it will be detected and you can select it at this point. If your work email isn't on your phone you can enter it at this point. You can also deselect any accounts that appear here by tapping the blue checkmark and then tapping skip.
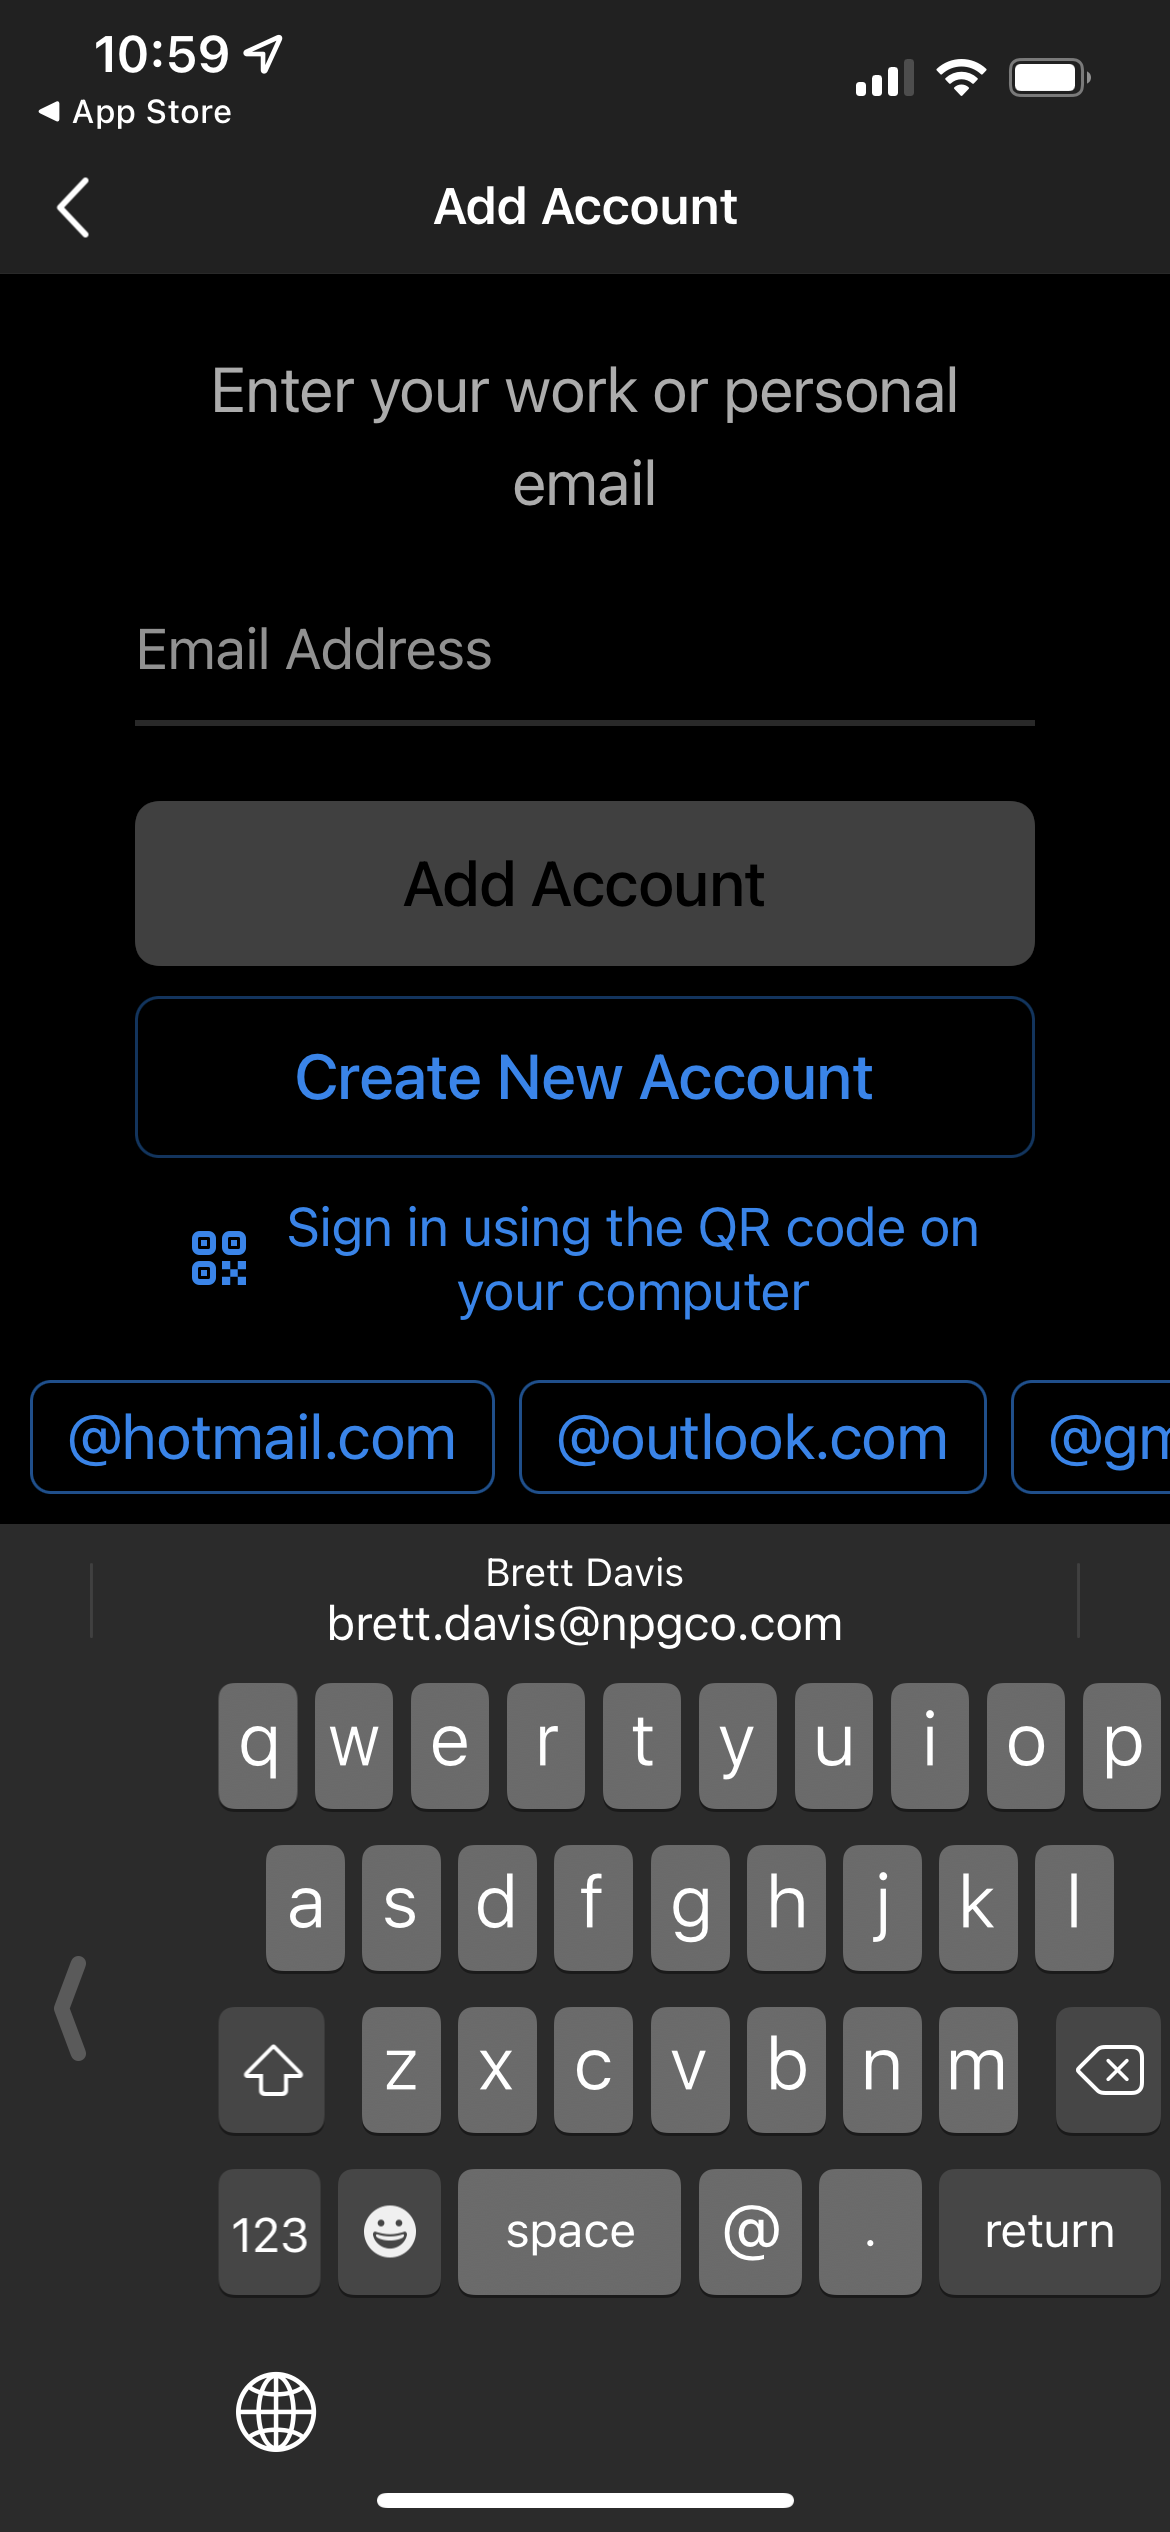
Step 3.
If you tapped skip you will be prompted to enter your email on this screen. Enter your email address and tap Add account.
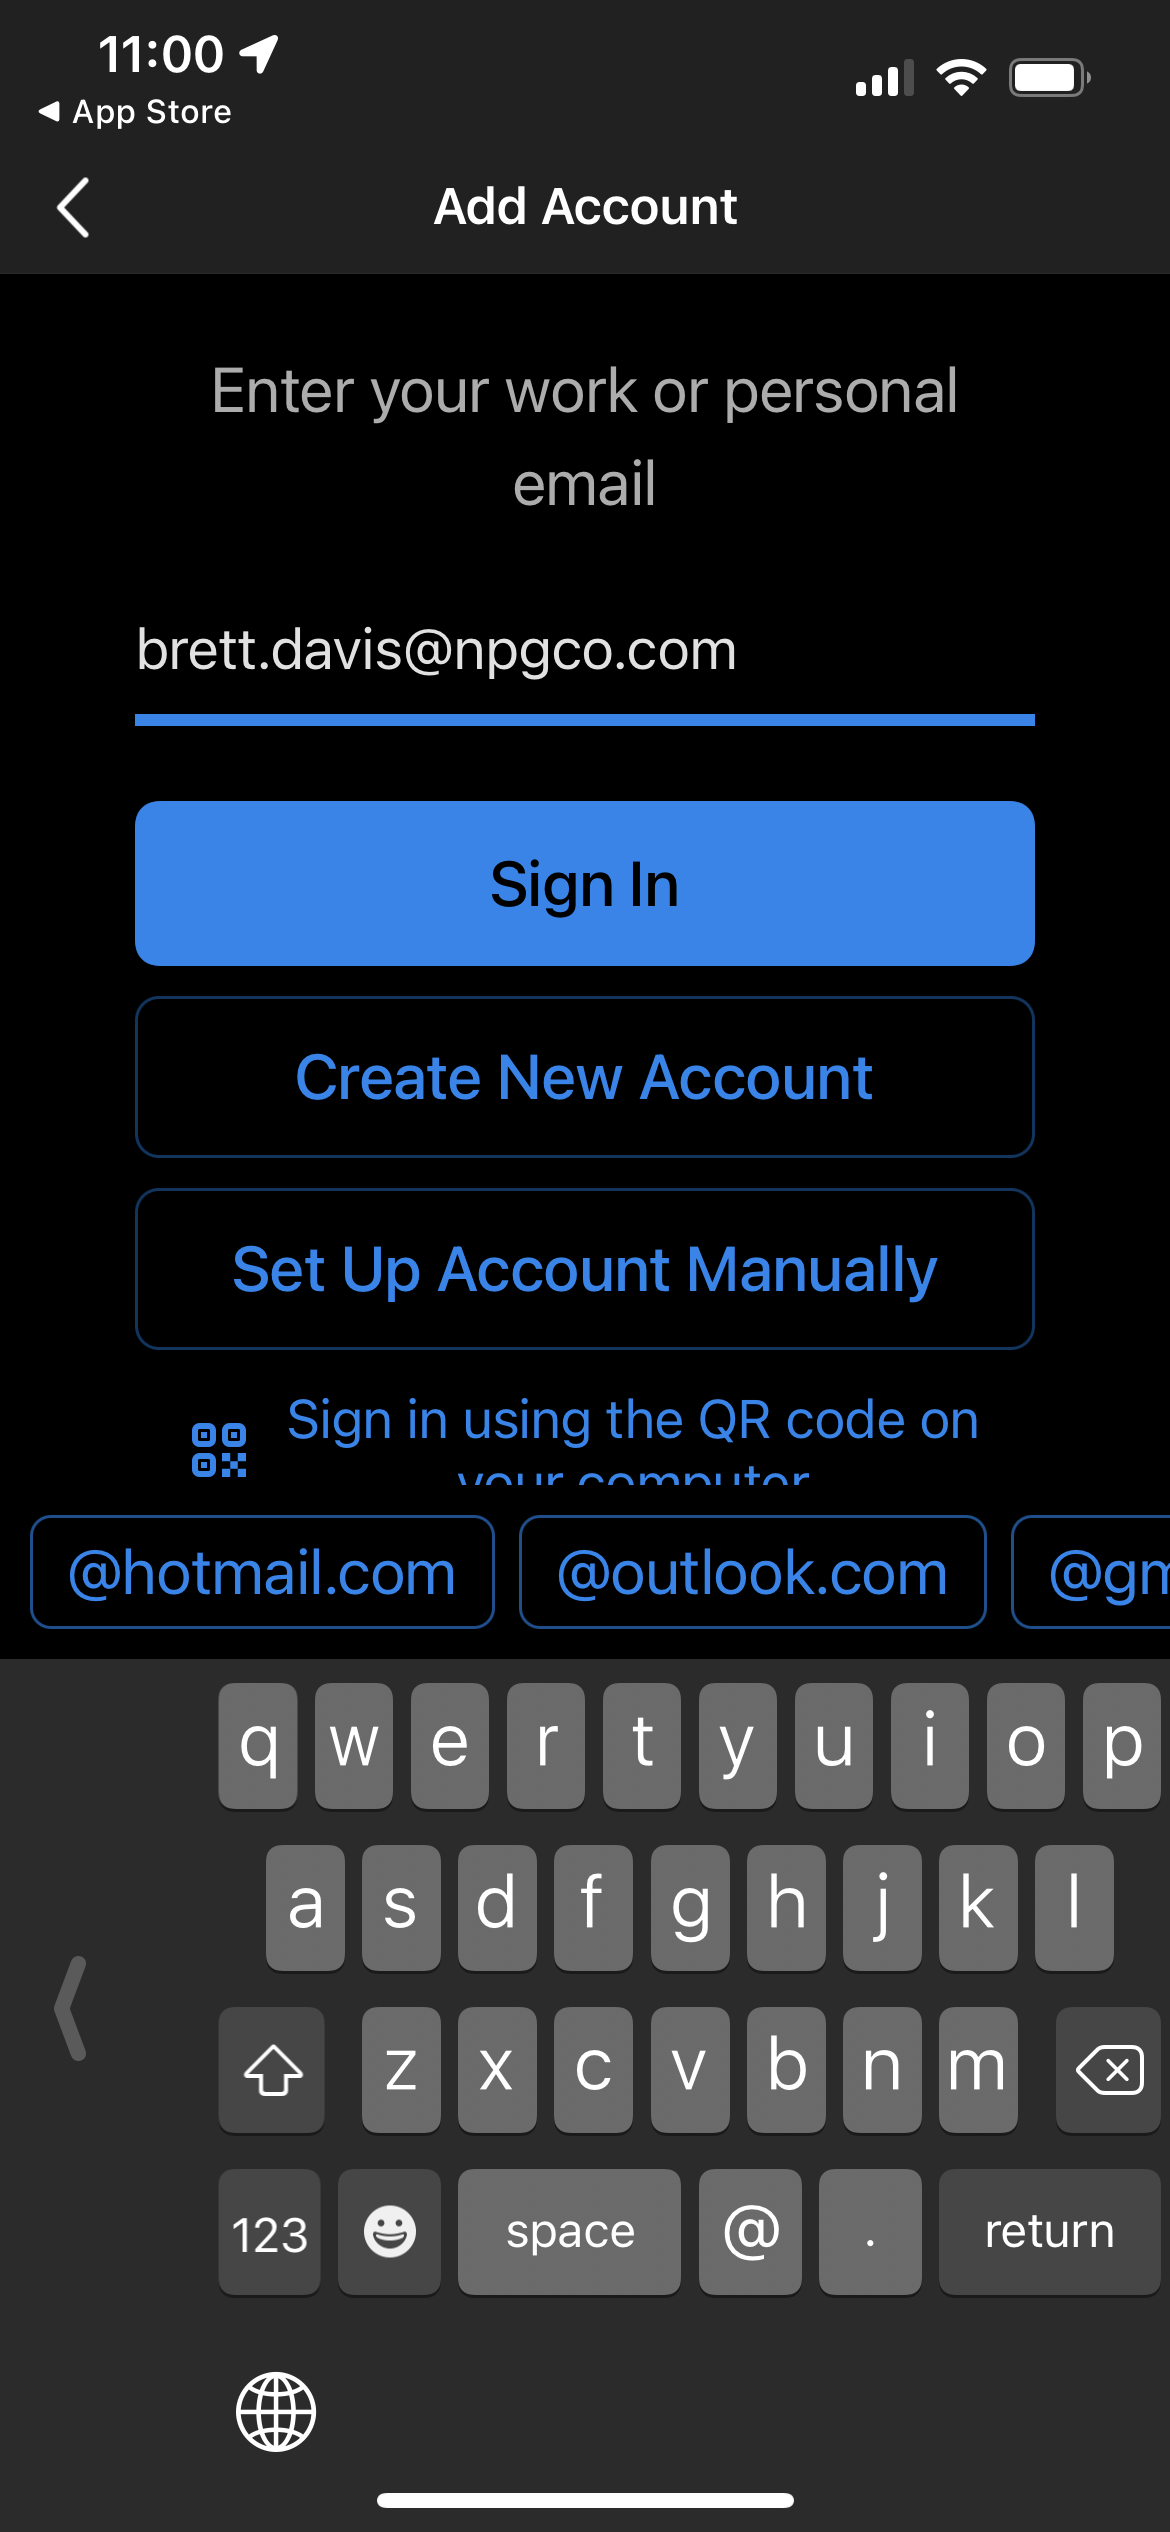
Step 4.
When you tap add the account you will see the following screen. On this screen, tap the sign-in button.
Step 5.
After tapping sign in you will be prompted by the authenticator page. Click Open Authenticator
Step 6.
You will now be presented with the Authenticator page again. This time you need to complete the authentication.
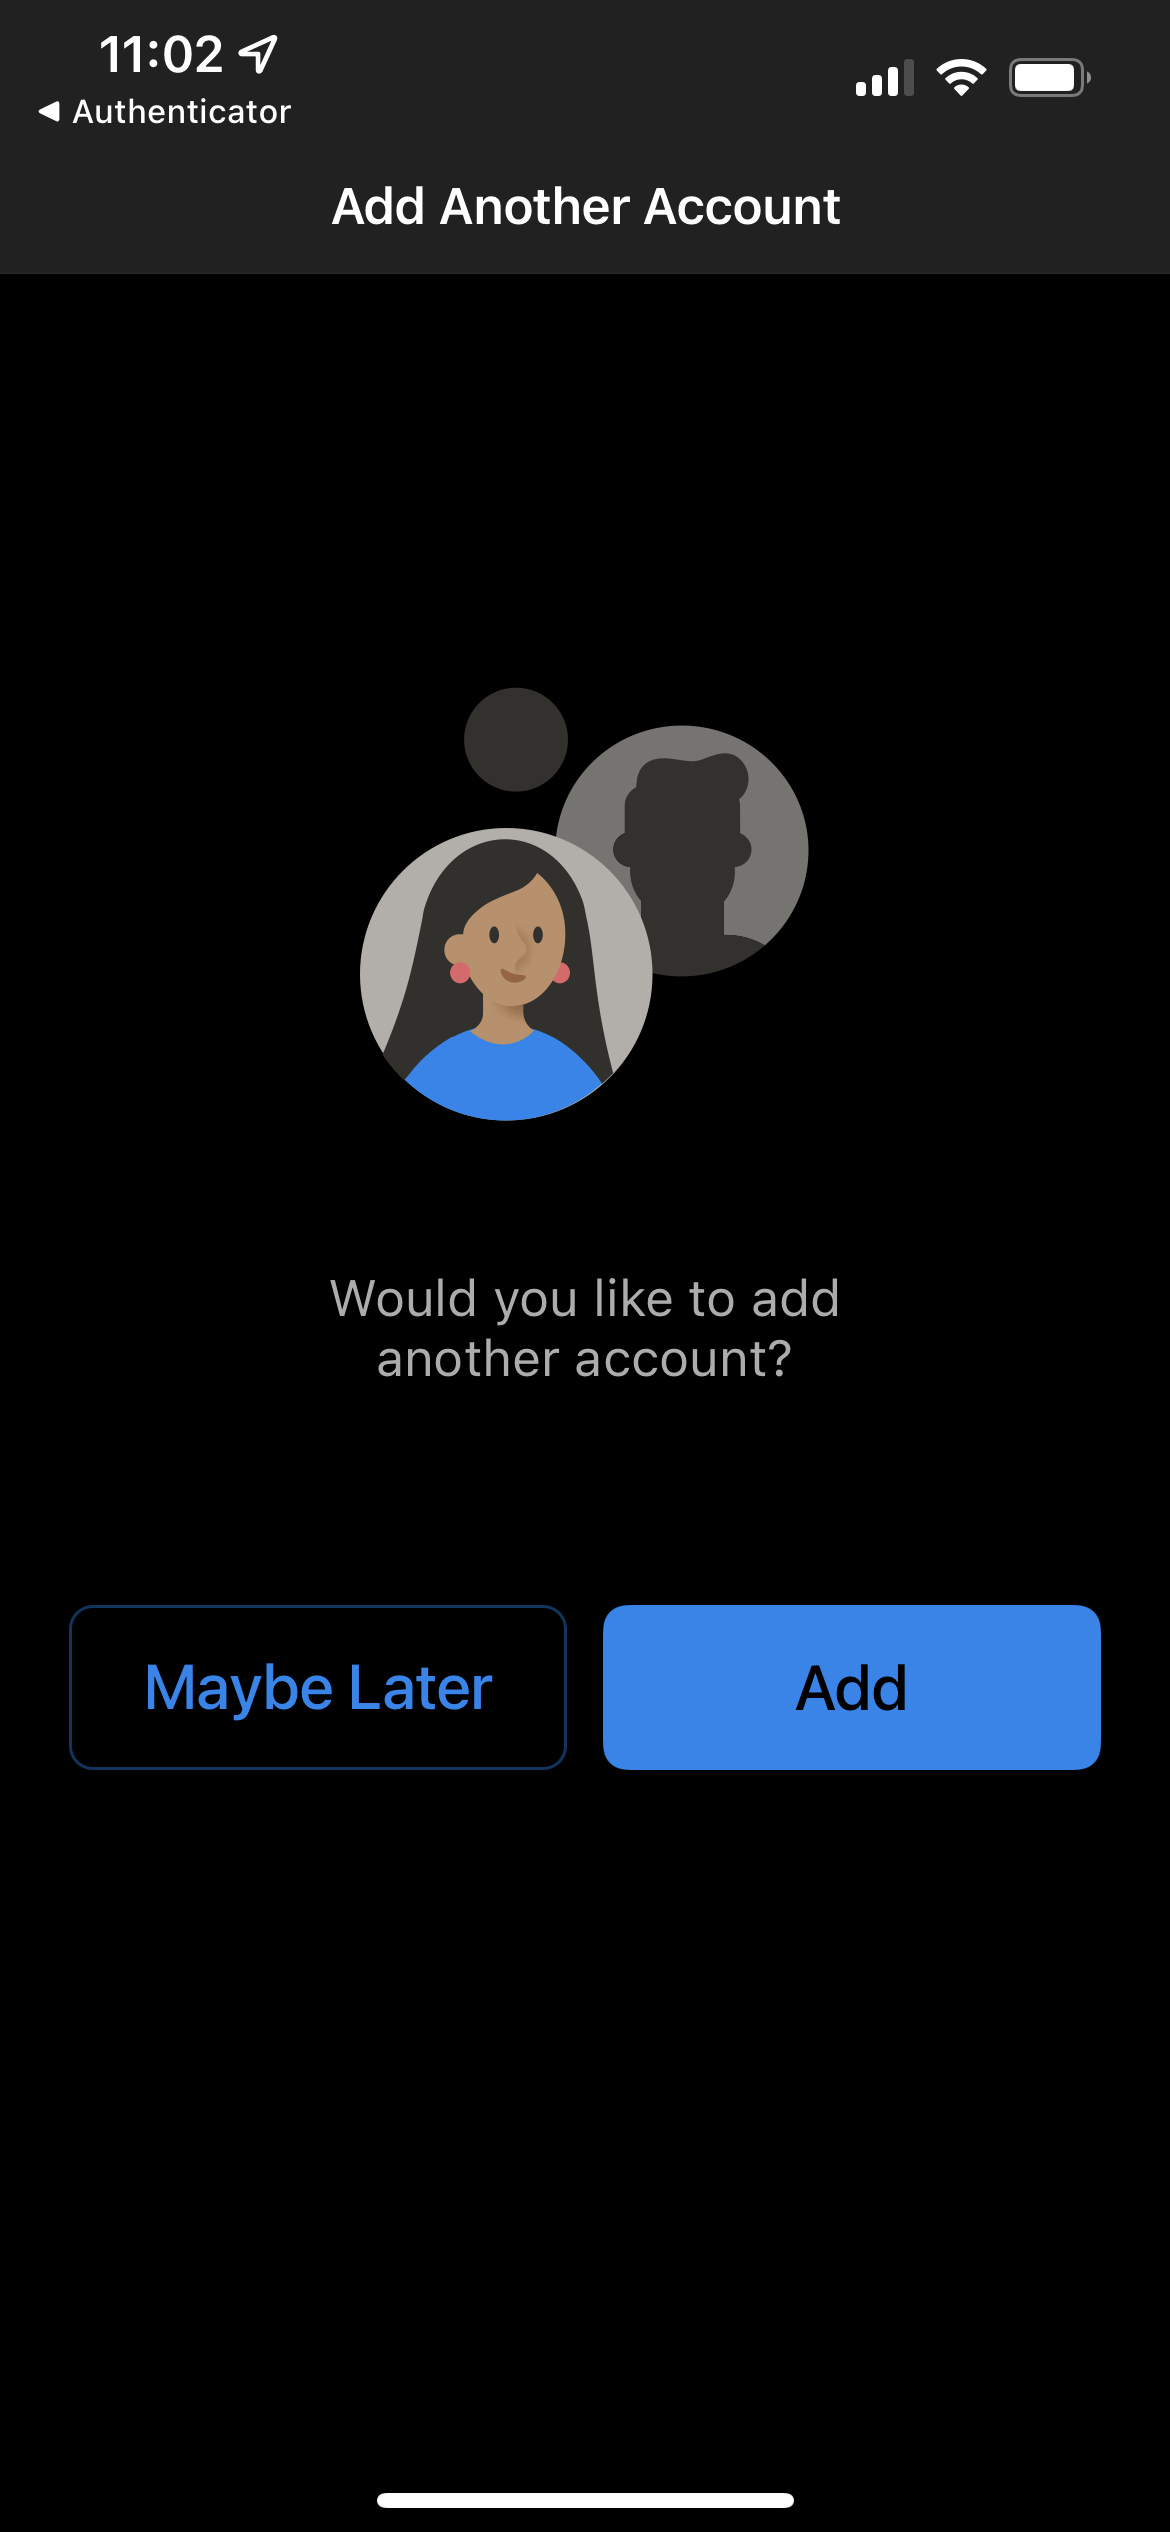
Step 7
Once the authentication is complete you will see the following page. Here you will tap maybe later and your setup is complete, the app will now launch.
Section 4. Android
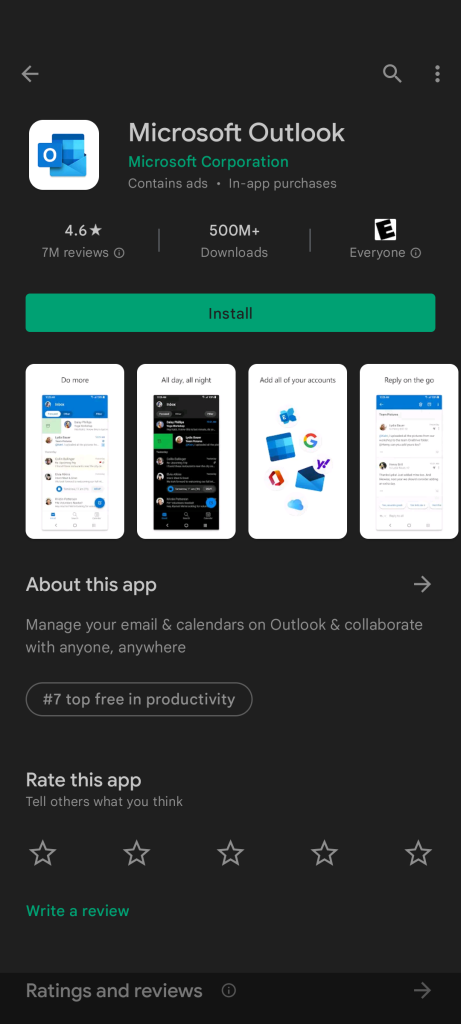
Step 1.
The first step you need to do is to download the Outlook application on your Android device from the Google Play Store.
Step 2.
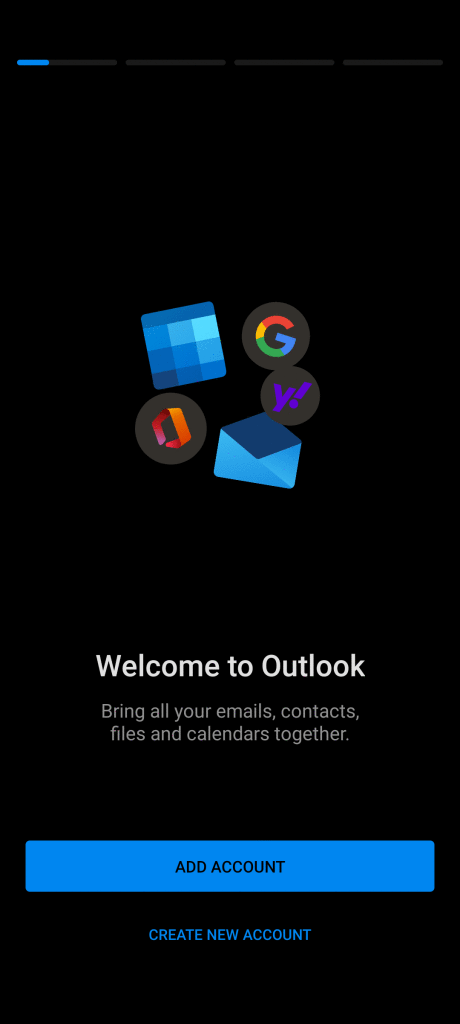
Once the app is installed open it to begin setup. Here you will tap add account to begin.
Step 3.
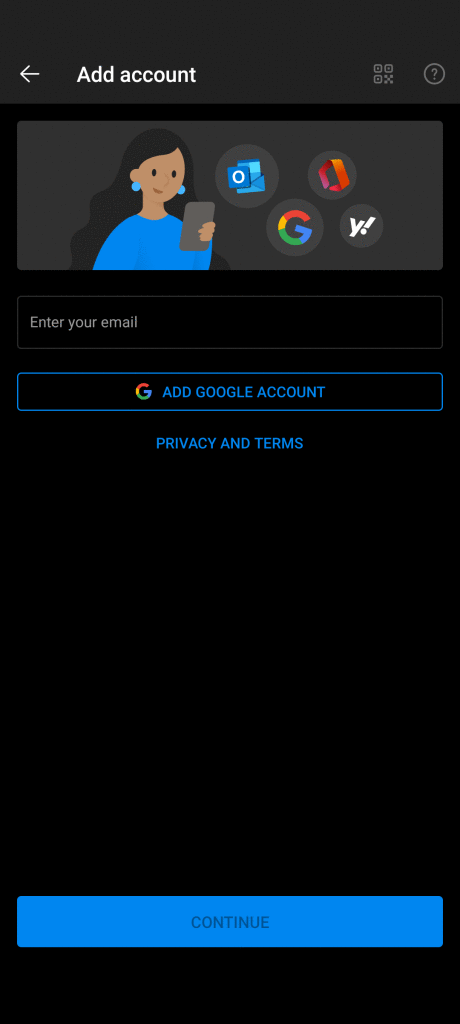
The application will then take you to the following screen. On this screen, you will enter your work email address in the box directly below the picture. Do not tap add Google account. Once you have entered your email address tap continue.
Step 4.
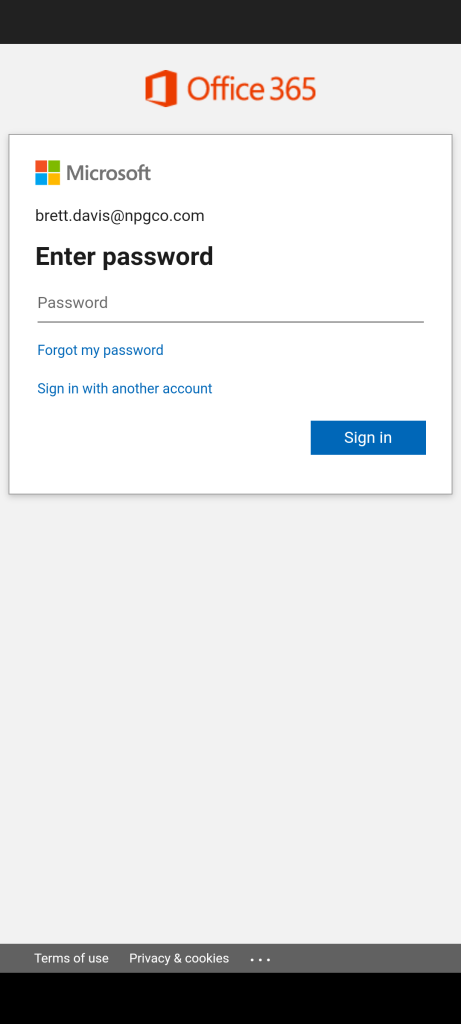
The next step will be to enter your password and tap sign in.
Step 5.
On the next page, you will be prompted to approve the sign-in with your 2-Factor authentication.
** See the guide on setting up Two Factor Authentication if you have not yet done so HERE

Step 6.
The final step will be to tap maybe later on this page. this completes the setup and the application will now open.

For further information and tips on using Office 365, you can reference the article below.
Comments
I've for years been getting my work email into my Android phone's native (Samsung) email app. I'm guessing I'll need to just move to Outlook on the phone, which is fine.
Article is closed for comments.