Overview
This document covers the installation and setup of NextCloud for employee workstations.
Download the Installer
To ensure you are always installing the newest version of the application, you will want to download the installer from the web interface.
1. Log into the NextCloud web interface. The URL is https://files.YOUR-PRIMARY-DOMAIN.com
- See the attached nextcloud Excel document for a list of each location nextcloud URL
2. Click on your profile icon, located in the top right corner, and then settings.
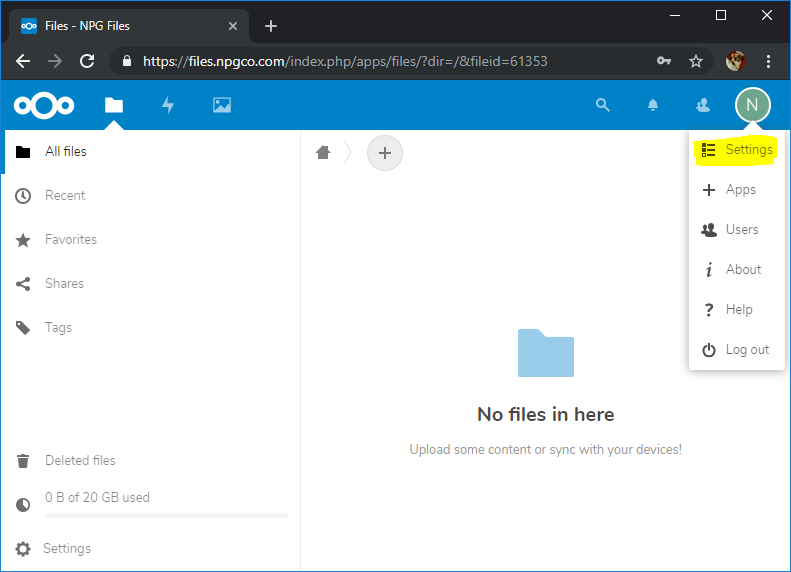
3. Click on Mobile & Desktop on the left side, and then on whatever version of the application you want.

Installers are also located at \\npg-itstore\storage\Software Repository\N\NextCloud but may not be the most up to date versions.
Install Process
1. Run the installer and accept all defaults.
2. Launch NextCloud to configure.
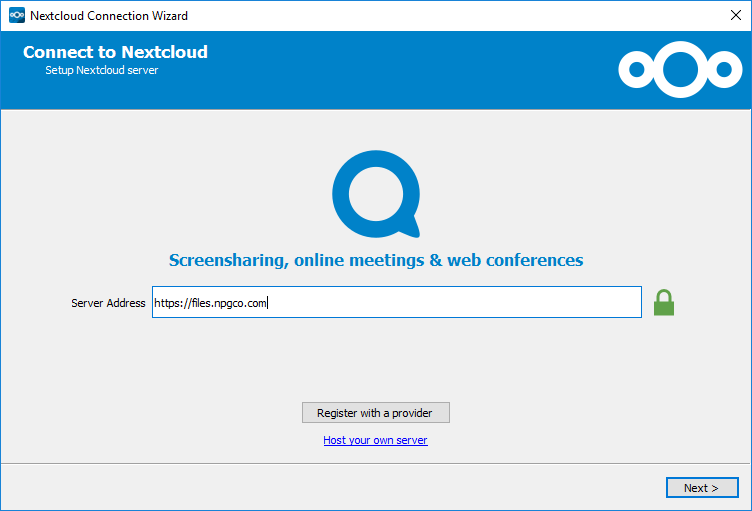
3. Select Log In and provide the server address. https://files.YOUR-PRIMARY-DOMAIN.com
4. On the next screen click Log In, and use your domain credentials.
5. Click Grant access.
6. Select Sync everything from the server. Remove checks for confirmation if checked.
7. Change the local folder to Documents/My Documents for the user. Make sure Keep local data is selected.
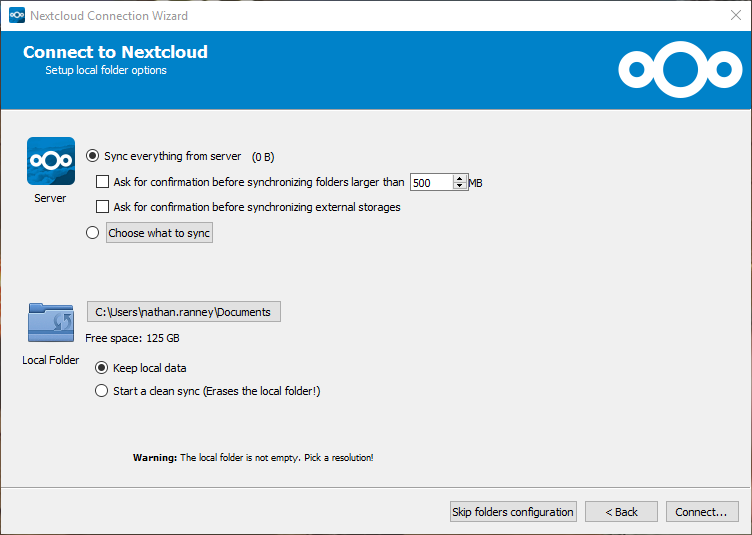
8. Click Connect.
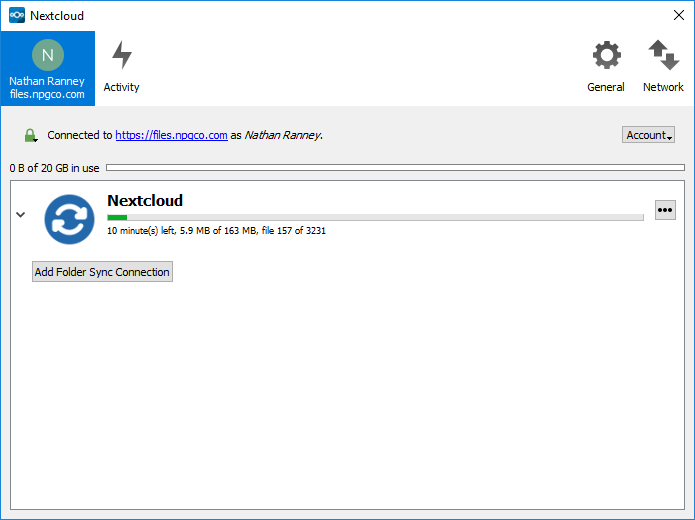
NextCloud will now sync any data between the computer and the server. This can take some time depending on the amount of data being synced.
Although the screenshots above are from a Windows install, the Mac install process is nearly identical. See the guide below to install for a Mac computer.
https://npgco.zendesk.com/hc/en-us/articles/360038032174-Open-VPN-Mac-Setup-Procedure
Comments
Article is closed for comments.