Official video switch documentation: Product Sheet, Manual
Step 1: Collect 3 remotes as imaged
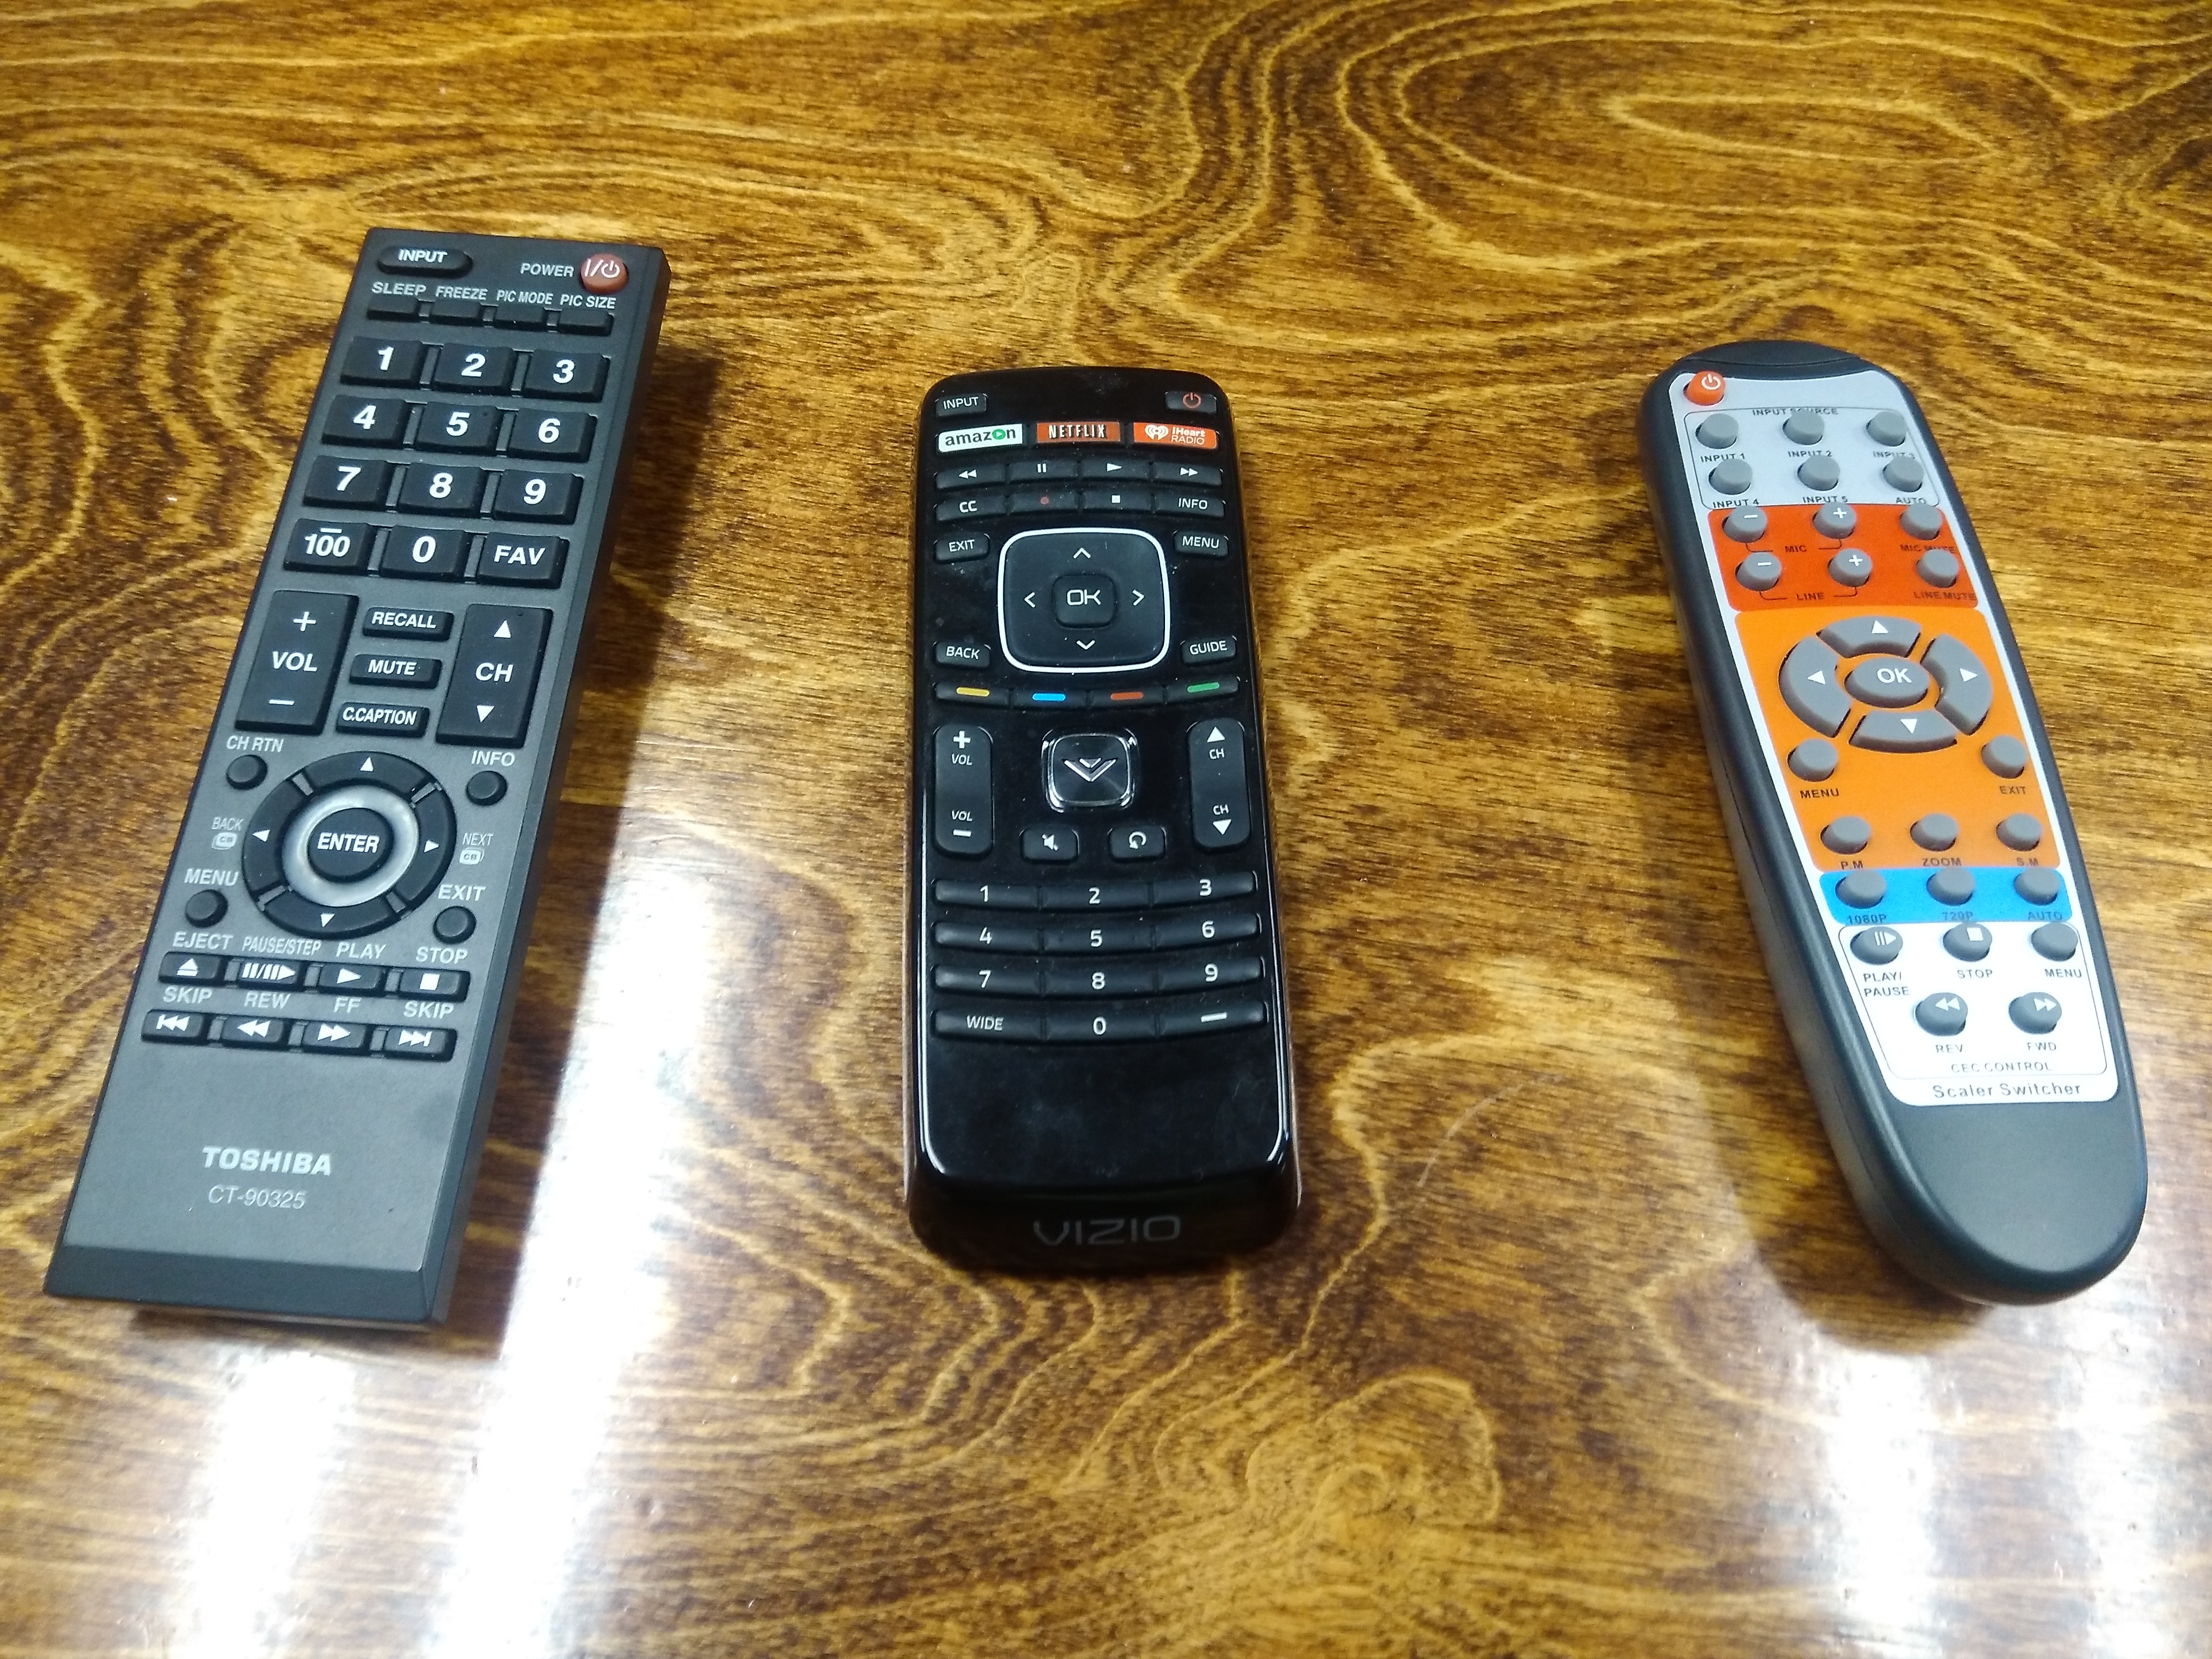
Step 2: Using the corresponding remote:
- Turn on the Toshiba tv (north wall)
- Turn on Vizo (west wall)
Step 2.1:
By default these tv’s should be at the right input (continue to step 3 & 4 if the screen does not show up continue here), but if not follow these steps:
- Verify that the video switch is on, and in the right input use the remote shown:
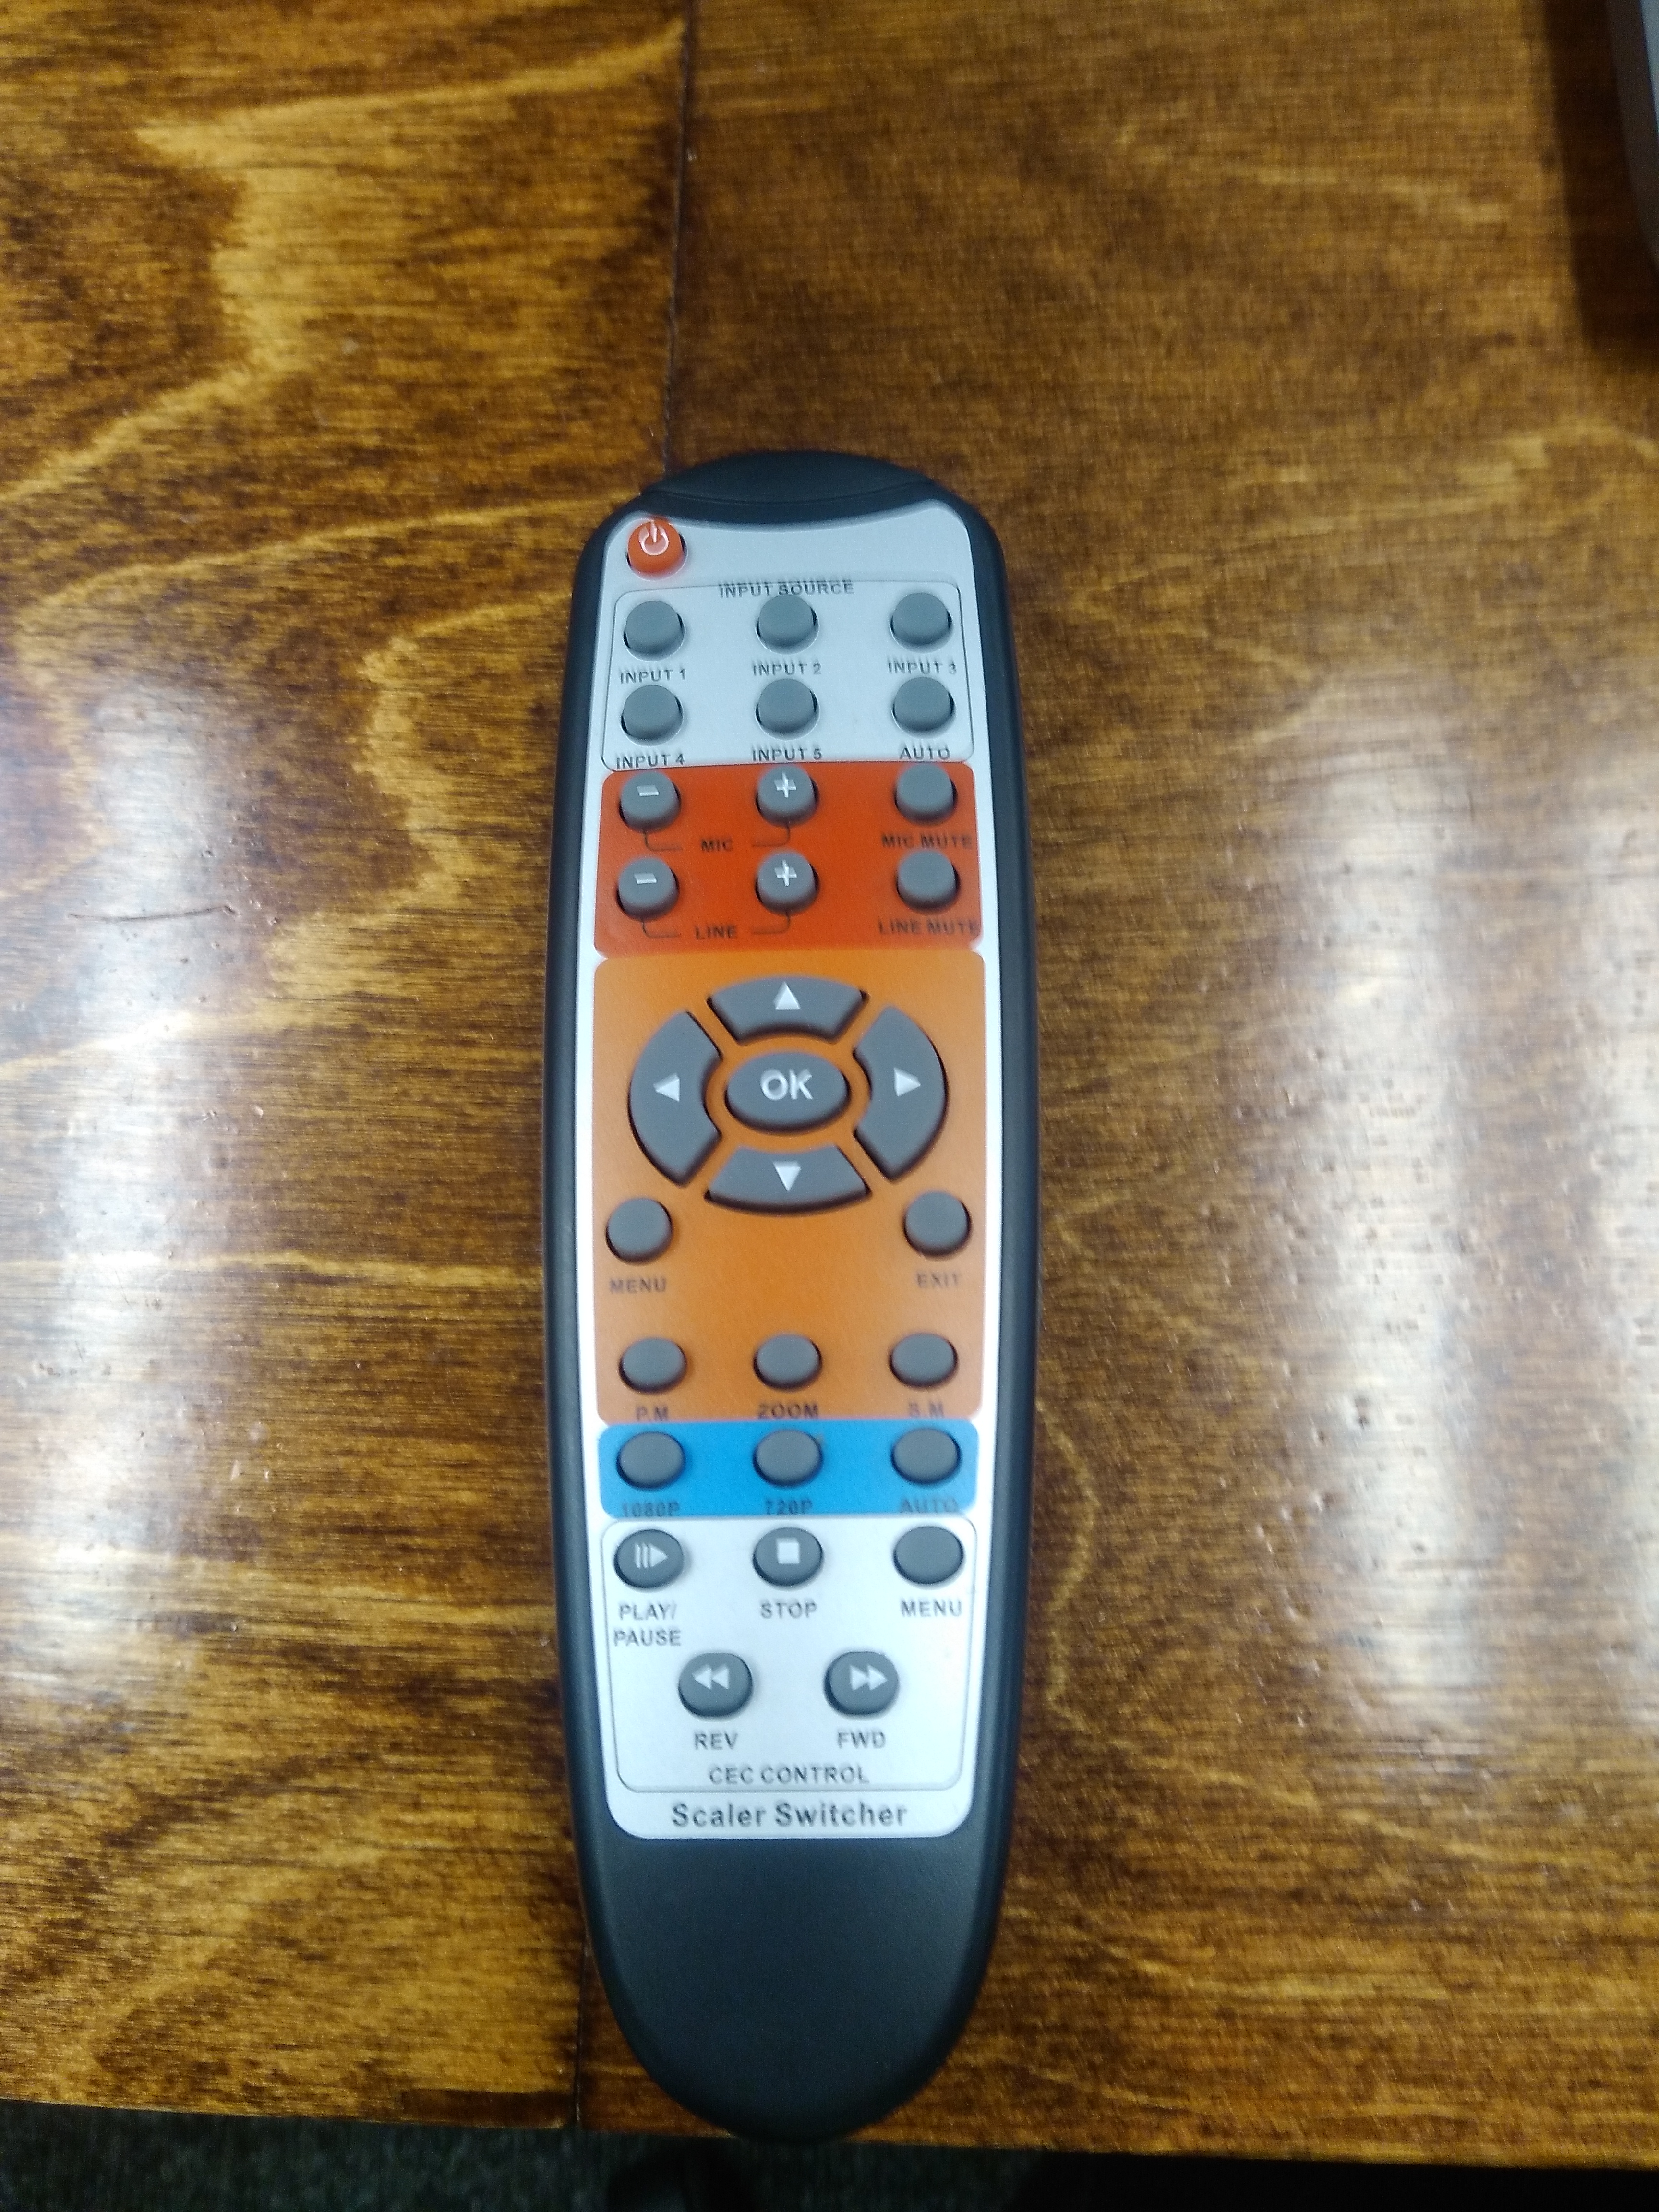
select the auto source (bottom right of top grey section)
- Check the tv inputs.
- Toshiba: Click the “Input” Button on the remote until “HDMI 1” is selected on the tv, then hit “Enter”.
- Vizio: Click the “Input” Button on the remote until “Computer” is selected on the tv, then hit “OK”
Step 3:
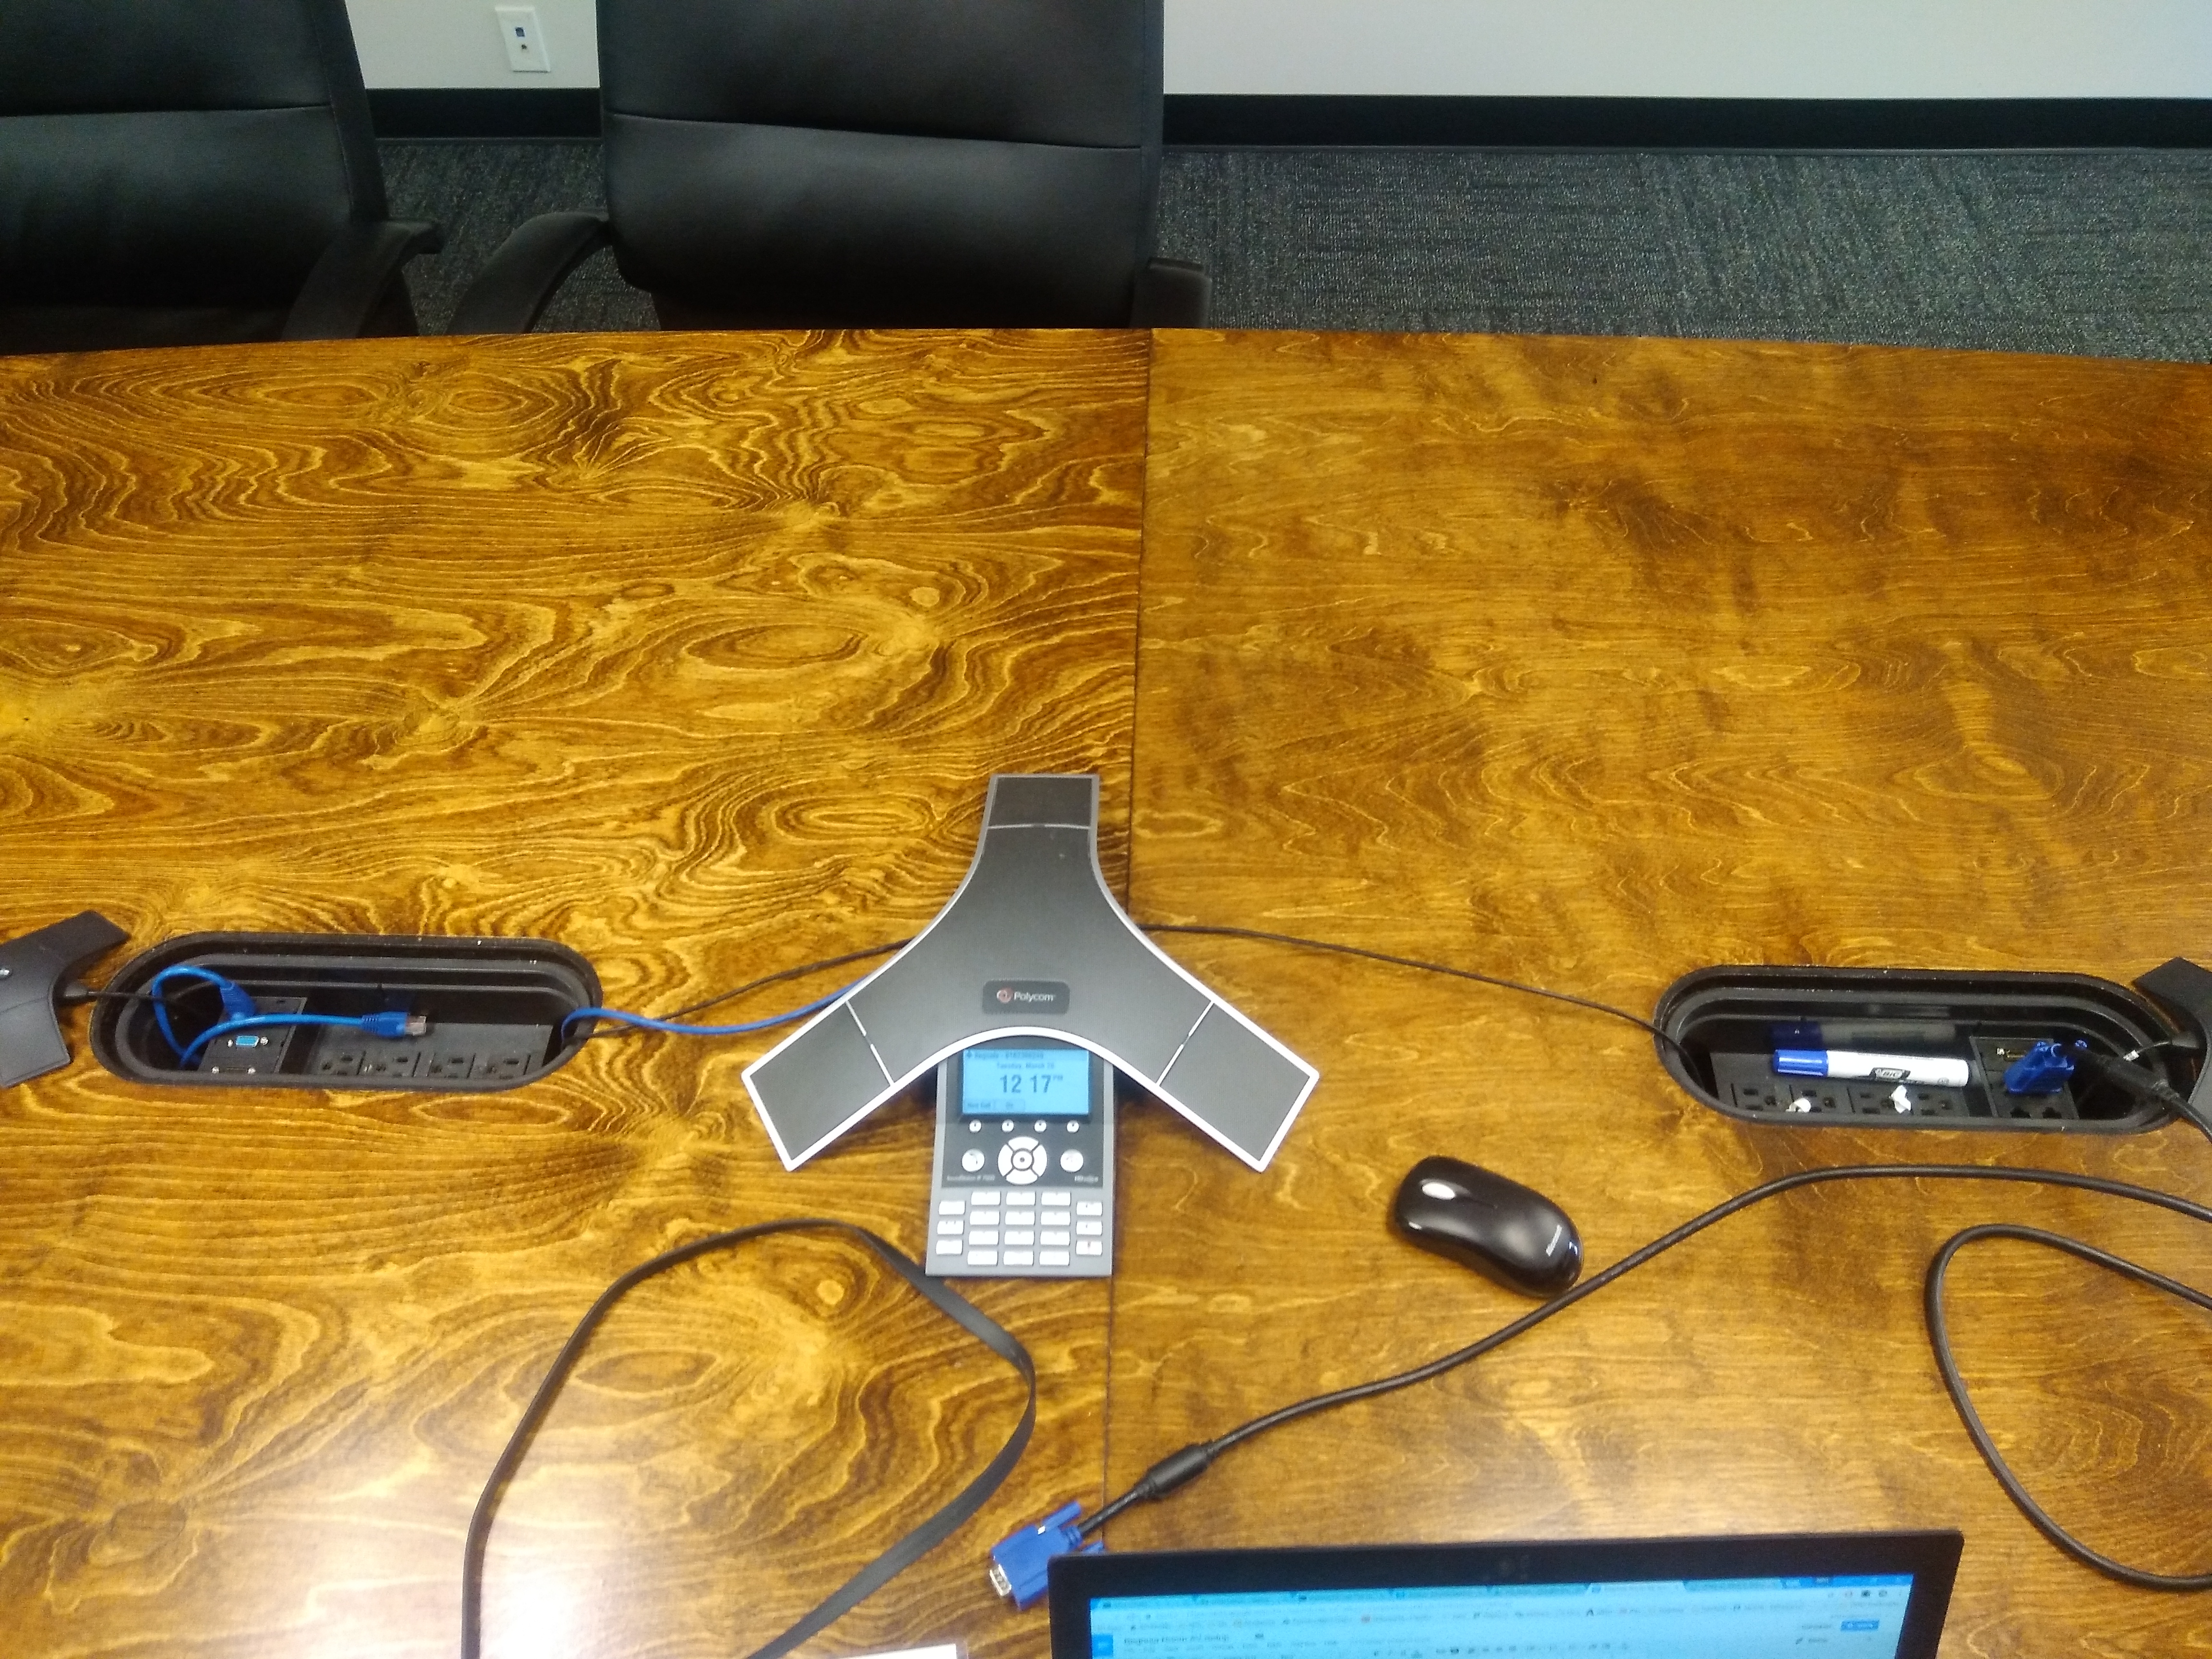
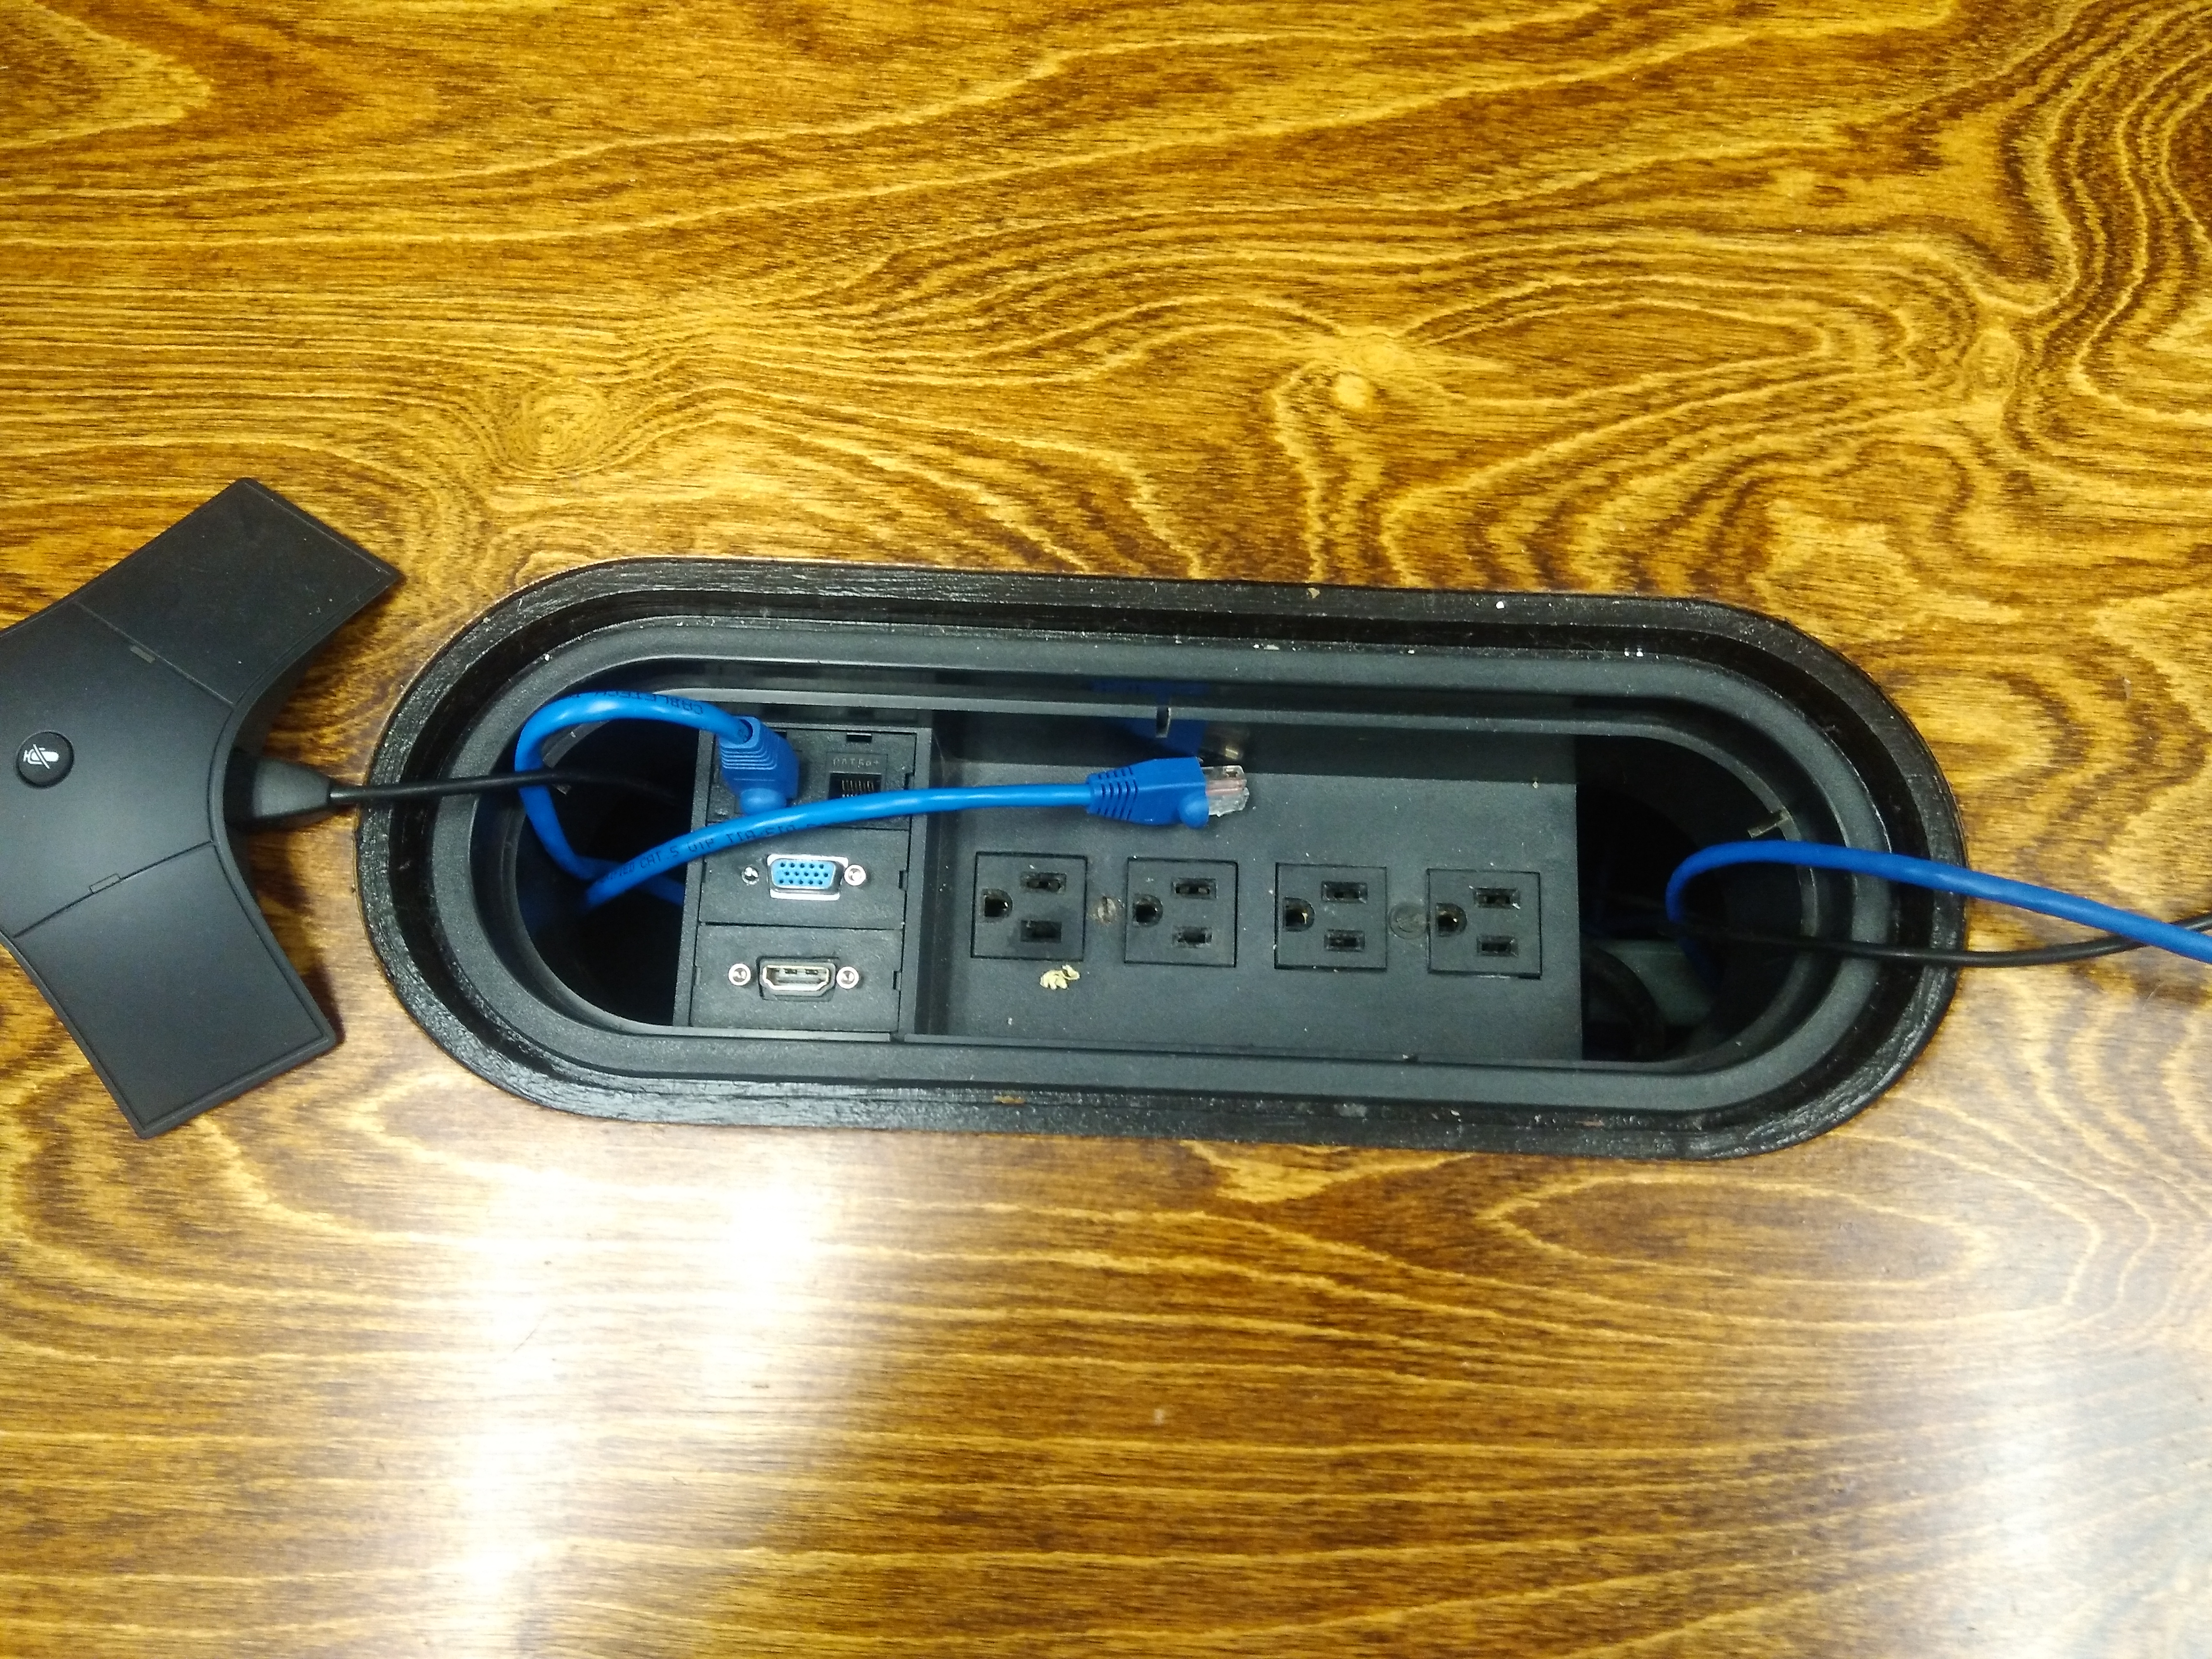
Choose HDMI, or VGA to project to the screens with. *A side note, if using VGA you Cannot project sound unless it is from the laptop you are using directly. If you intend on having sound you will NEED to use HDMI. If cables are not present look in cabinet under Left side. Plug Device into HDMI or VGA cables to laptop. The location for the cables are as shows:
Step 4:
On the computer you will need to choose a screen to either Duplicate, or Extend. Duplication will be easiest if you are unfamiliar with how to use dual screens, and set them up. Do get to this menu (make sure the HDMI, or VGA cord is plugged in) Press the “Windows Key” On your keyboard and the letter “P” This will bring up a small menu as pictured.
Windows 10 Pictured Below Windows 7 Pictured Below
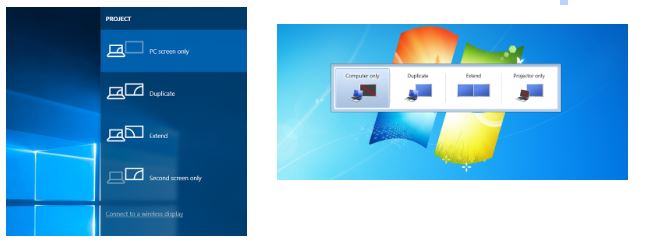
Simply select the duplicate option, and your computer screen should populate on the tv’s. (If your screen does not populate on the either tv after about 30 seconds return to step 2.1
Step 5: When done simply unplug the video cord from the computer, and turn on both Toshiba, and Vizo tv’s. All settings will remain the same for the next user, and will be just as easy to setup.
Comments
Article is closed for comments.