This step by step tutorial will walk you through creating a personal folder on the Warrensburg File Server, and how to save your files to that folder for safekeeping.
1. Browse to the File Server
The first step is to browse to the Warrensburg File Server. To do this, click the start button and type \\np-wrbg-file into the search box, and hit Enter.
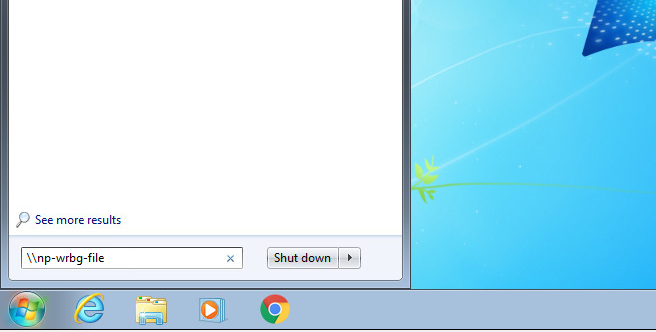
This will bring you to the file server.
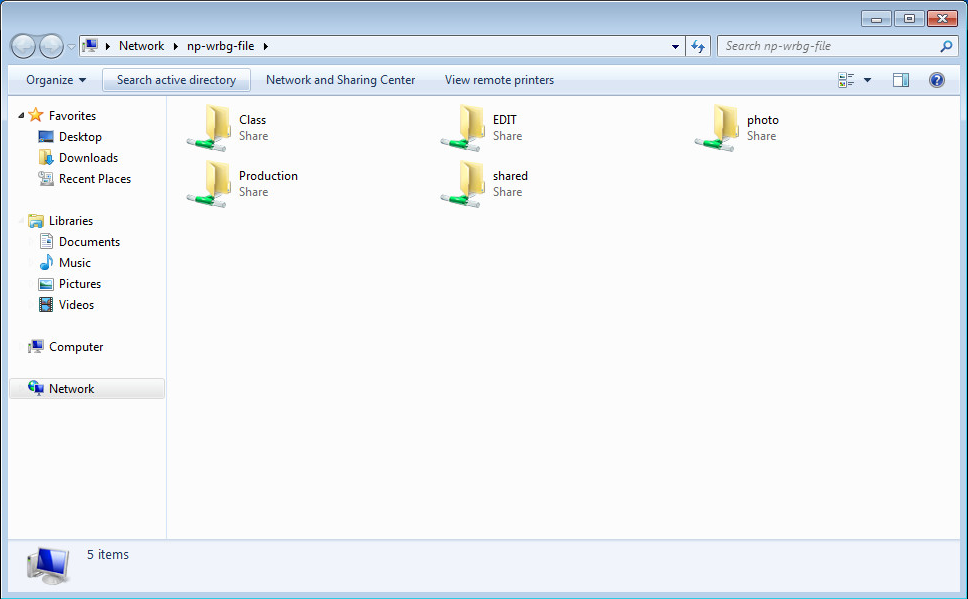
From here, open the shared folder.
2. Create A Personal Folder
If there is not already a folder here with your name on it, you will need to create one. This is where your files will be stored. Right click in a blank space, select New, then Folder. Name the folder the same thing as your computer log in! Which would be your firstname.lastname. For example, nathan.ranney would be the name of my folder.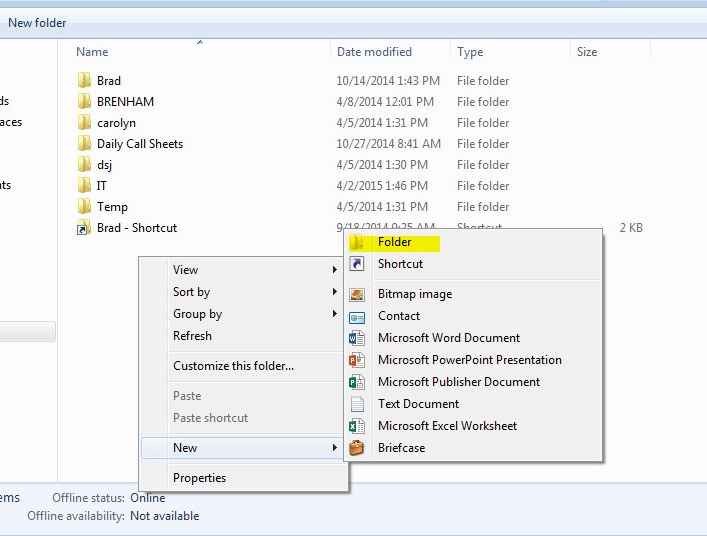
Now that your folder is created, we need to create a shortcut to that folder on your local computer. The shortcut is how you will access this folder without having to browse to the file server again manually like we did at the start of this document.
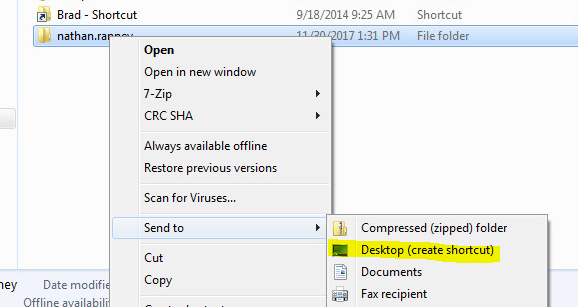
Right click on the folder you've created, select Sent to, and then Desktop (create shortcut).
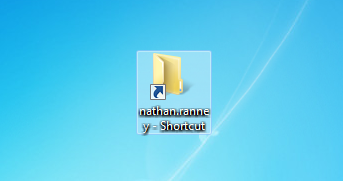
A shortcut should have been placed on your desktop.
3. Saving Files to the Server
Now that you have the shortcut to your folder, all you need to do is save any file you want to keep to that location. You can drag and drop files into the shortcut, or save directly to it.
Comments
Please sign in to leave a comment.